Well, it’s taken me long enough. In fairness, though, my main concern was time: I couldn’t see how I could commit to regularly feeding a starter when I myself had an irregular working schedule.
But my worries were laid to rest thanks to completely tearing my ACL and being deemed unfit for work—yay for reoccurring knee injuries!
So, with a missing ligament and more time on my hands than I know what to do with, I became a full-time caretaker of a little jar of starter called Keith (placeholder name—I’m open to suggestions; comment box below).
It was tough at times, especially in the beginning, when lil’ Keith was vulnerable and required more attention, and I felt out of my depth, unsure if I was doing the right thing. Why aren’t you growing? What do you need? Are you too cold? Are you still alive? Is the head being supported? The internet and books can serve as rough guides, but since the components involved in creating a starter (flour, water, the air) differ from one kitchen to the next, your starter may take a longer or shorter time to mature.
Thankfully, as it gets older, it becomes more resilient and can handle bouts of neglect. So don’t worry too much when you forget to feed it on time—speaking from experience. Just keep feeding it as usual and it should perk right back up after a couple of days.
What is a sourdough starter?
But hang on—what exactly is a starter? A starter, or sourdough starter, is a natural leavening agent. Water and flour are mixed and then left undisturbed. During this time, the flour–water mixture starts to ferment due to the bacteria and wild yeasts in the flour and in the air. Click here for a reminder of what fermentation is. Once a strong, healthy colony of microorganisms has been cultivated, the sourdough starter acts the same way store-bought yeast does, in that it helps to rise, or leaven, bread.
How to create a starter
There were some small deviations, but generally I followed the method in Bread Science by Emily Buehler—partly because it was the last bread book I’d read, but mainly because it has useful descriptions of how the starter should act, look and smell at certain intervals.
Below is a 13-day chronicle of how I created Keith.
Day 1
11:30
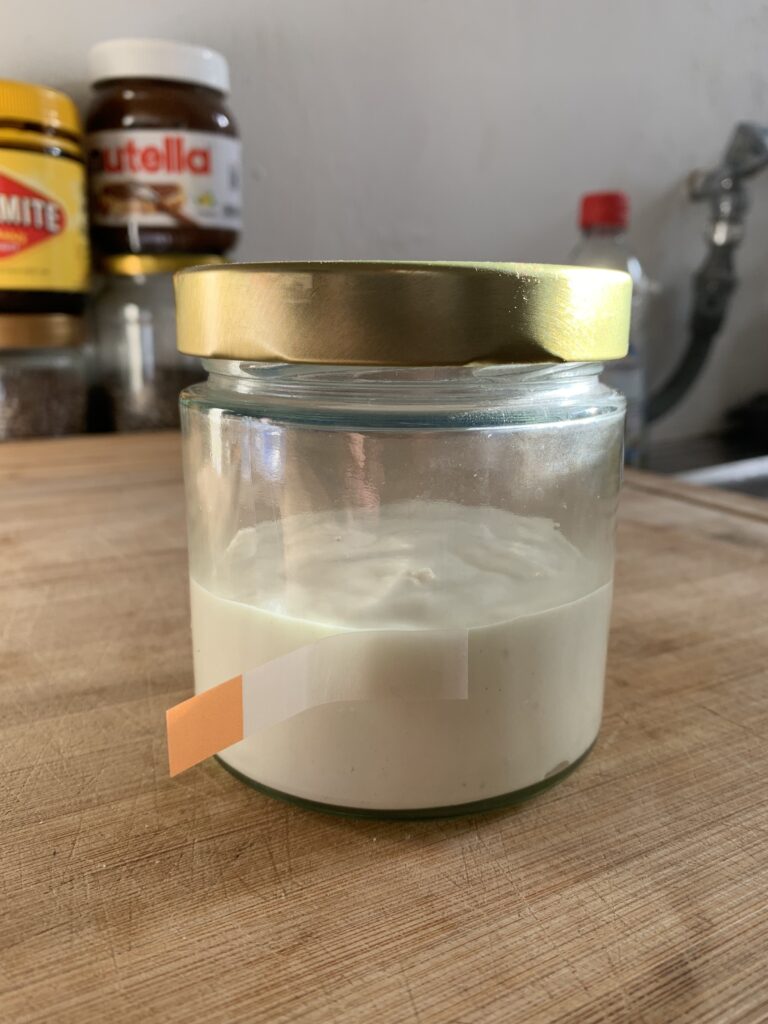
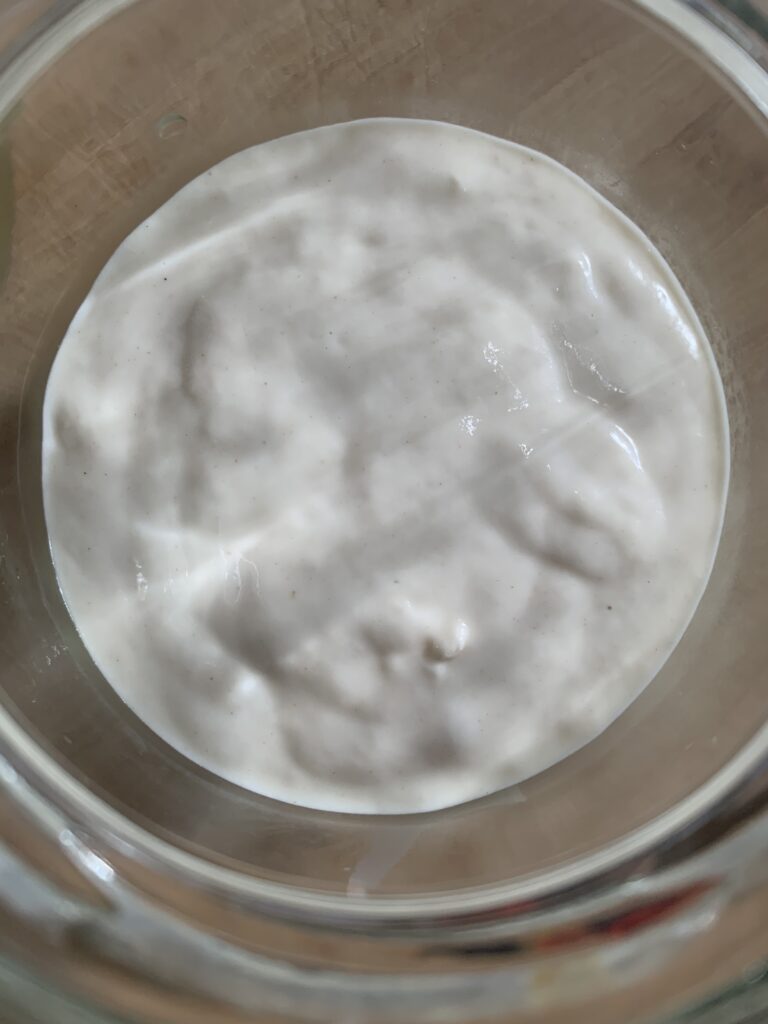
Especially in the beginning, you should feed your starter at the same time every day, to encourage it to grow consistently and reliably, so pick a time that works for you. Mix equal parts flour (100g) and water (100g) in a jar. I deviated from Buehler’s instructions, which were to mix 116g of rye and 120g of water, because I only had T405 (similar to cake flour) on hand, and I’d seen many other starter recipes tell you to mix equal parts flour and water, which seemed easier to me. She suggests rye because it ferments faster than white flour, and I assume she used more water because rye is a thirsty sucker. Because the ambient temperature in my kitchen was low, at 18.5°C, I used leftover water from my kettle, which was around 19°C, to create a warm environment conducive to bacteria and yeast growth.
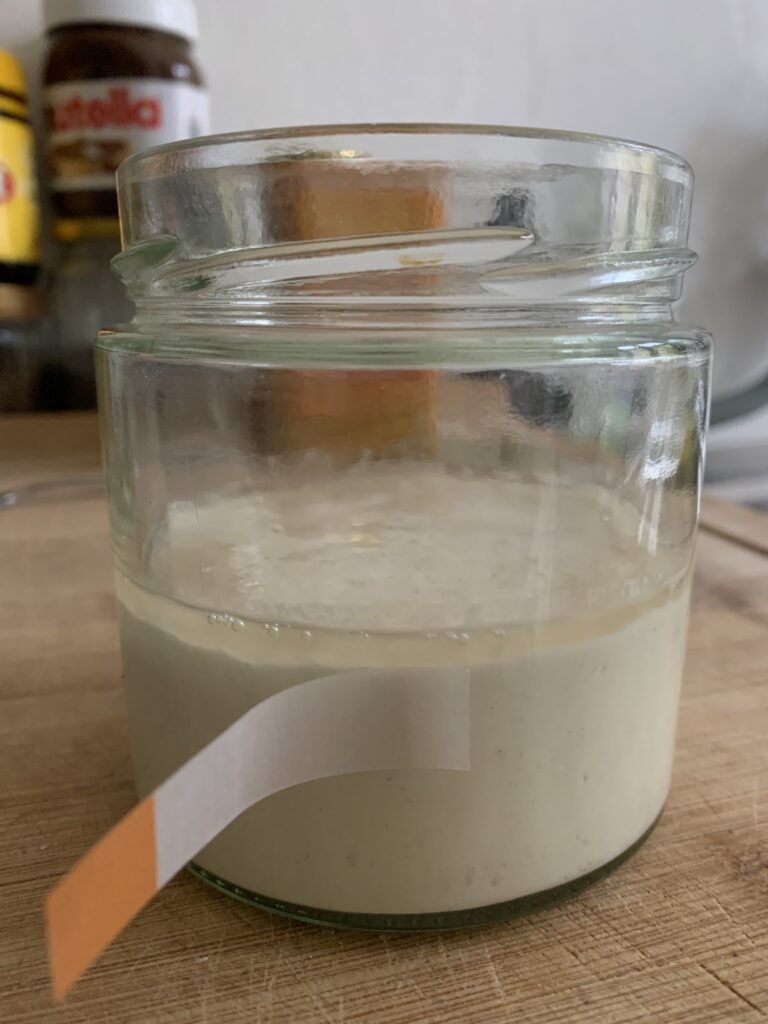
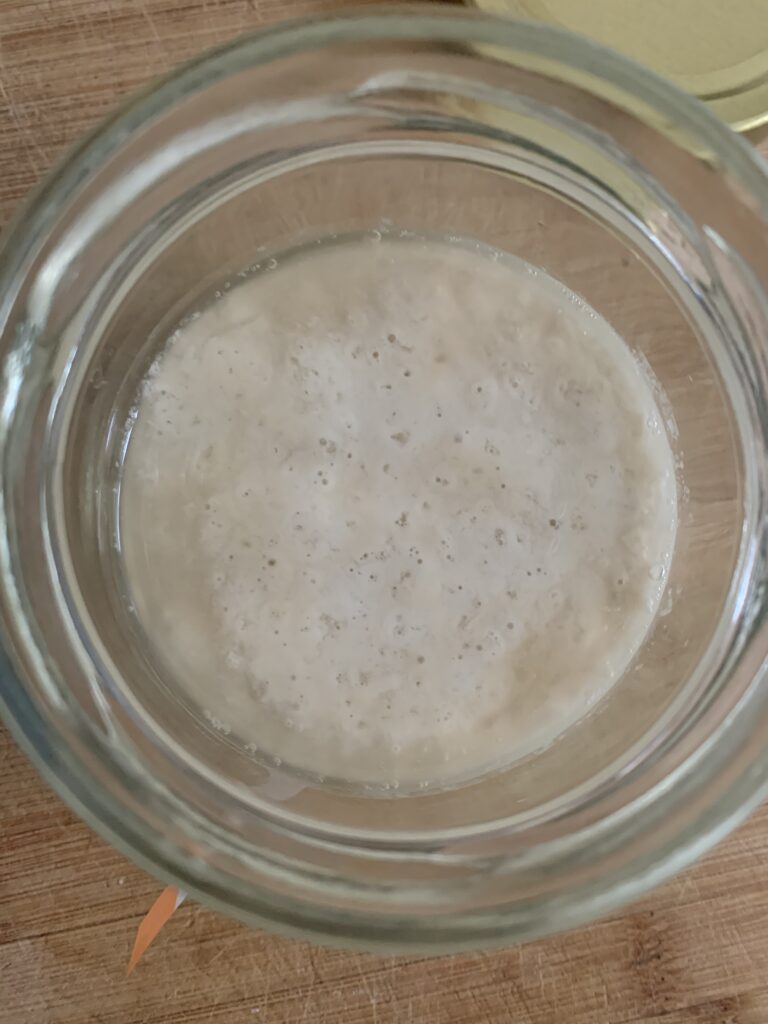
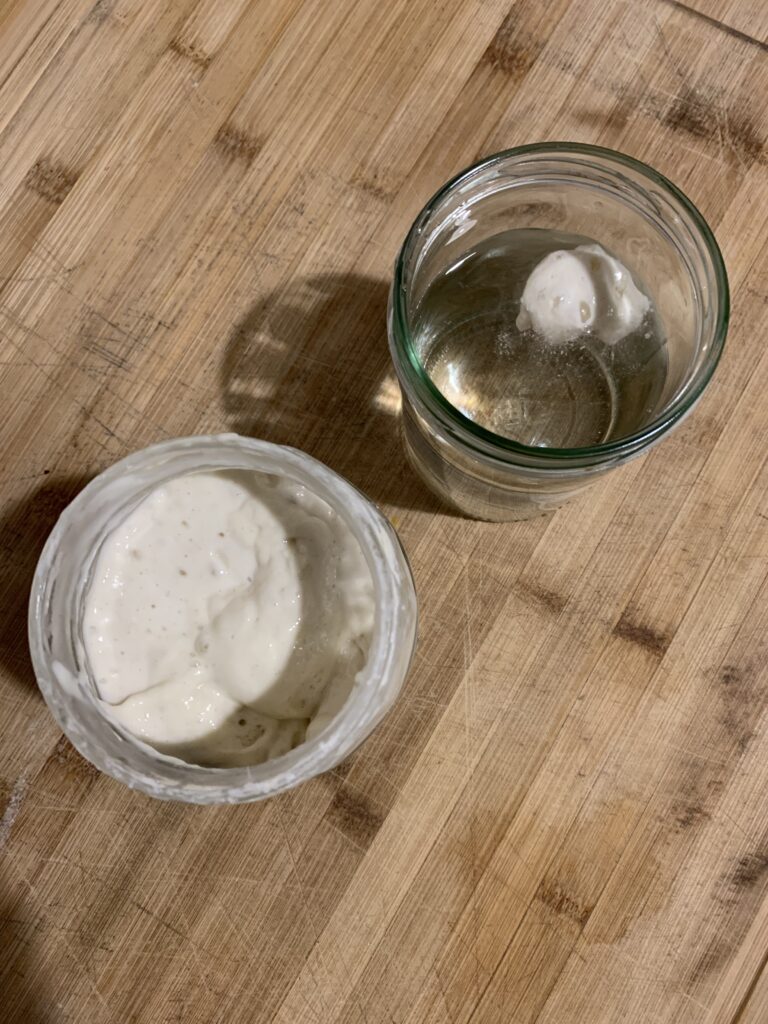
In the pictures above you’ll see that the size of my jar was only double that of my starter, which is okay for the first couple of days, since your starter probably won’t be so active and rise a lot. But having a jar at least three times the volume of your starter is preferable, as it could grow this much or more, depending on the strength of your flour and the hydration level. Also use a rubber band rather than a sticky tab—which kept falling off—to mark the height of your starter after you’ve mixed it.
Day 2
11:30
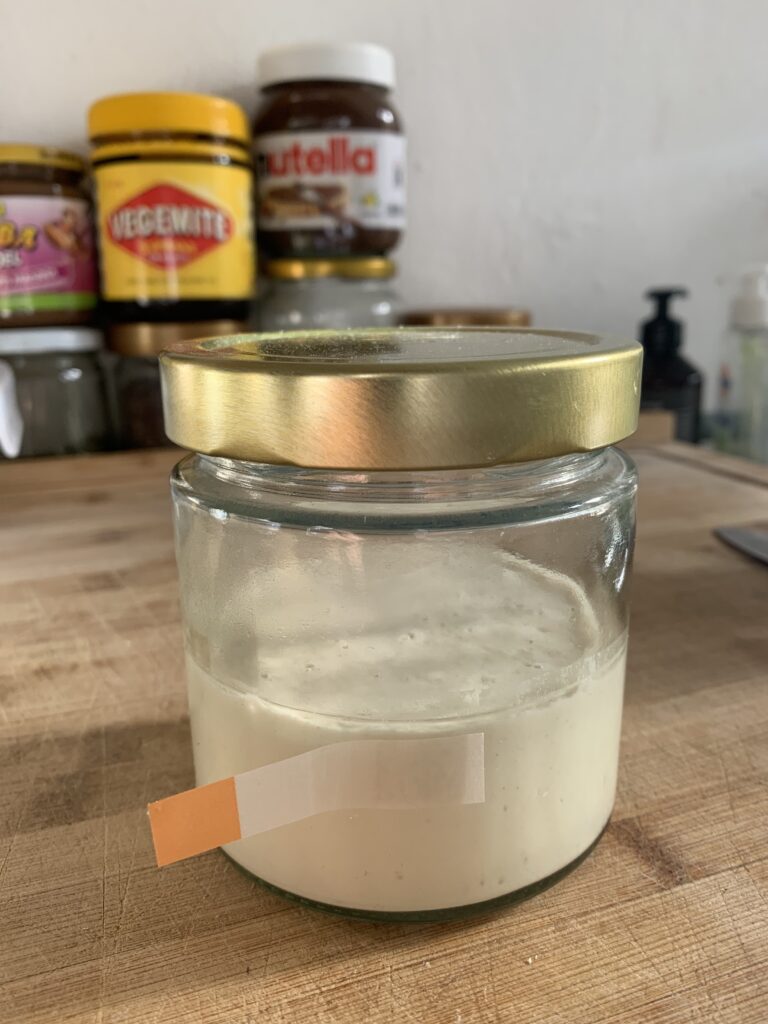
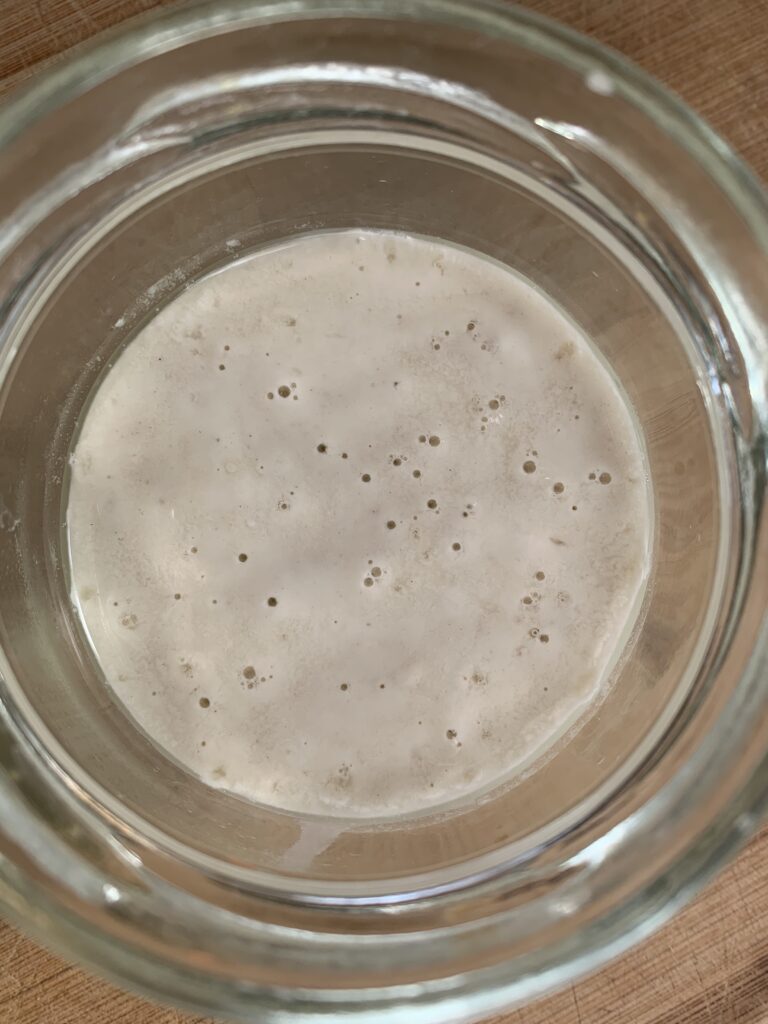
After 24 hours there was barely any activity. You can see a few small bubbles on the surface, hardly any visible on the sides, and no rise. It also doesn’t smell like anything; while I do get a hint of sweetness, like honey, it could very well be because I’ve reused an old honey jar.
Notice the clear liquid on top of the starter. This is called hooch, an alcohol that is produced when your starter has run out of food. In other words, it’s a sign that your starter needs to be fed. However! As we are only just in the throes of creating our starter, let’s heed Buehler’s advice and do nothing today. That means no feeding, no mixing. Just observing.
Day 3
10:00
I decide to mix the starter to incorporate the hooch, which has increased since yesterday. Again, there is no rise, but there are more small bubbles on the surface.
11:30
Some sources, like Buehler, will tell you that it’s extremely important to sterilise your jar and the spoons you use to mix your starter. But because I’m a rebel with a cause under the thin veil of efficiency, I used the same jar. The only problem with this, in hindsight, is that it might be hard to see how much your starter has risen if your jar isn’t clean.
Alas, after 48 hours, my starter did not rise at all, unlike Buehler’s. I discard half (100g) of my starter, and replace it with equal parts flour (25g whole wheat plus 25g T405) and water (50g). This will be the ratio I use going forward, unless otherwise stated. Worried that my cold kitchen was the culprit behind the lack of activity, I used 40°C water as well as placed the starter in the oven (off) next to a bowl of boiling hot water.
By 22:00 that day, the starter had doubled. Forgot to take a photo.
Day 4
08:00
Starter dropped from a volume increase of 100% to about 30% by the next morning. Also didn’t take any photos today.
It’s recommended that you check on your starter occasionally throughout the day, rather than once every 24 hours, because you can miss out on the action and thereby falsely assume that your starter is inactive. Case in point: today, at the regular feeding time, Keith looked like it/he? hadn’t risen at all. But thankfully, I had checked late last night and saw that it doubled around 22:00. The starter probably peaked at that time, and then, as it had exhausted its food source (sugar derived from the flour), it began to collapse, so that by morning it was right back to where it had started. I say “probably peaked” because I didn’t check again to see if it risen further last night, and my unclean jar made it difficult to determine if that were the case. So don’t make the same mistake I did and either wipe down the sides of your jar thoroughly with a soft spatula, or just use a new jar.
11:30
Fell further, almost all the way back down to its original volume. Smells like lemony yoghurt. Discarded half, fed the same as the previous day.
Day 5
08:00
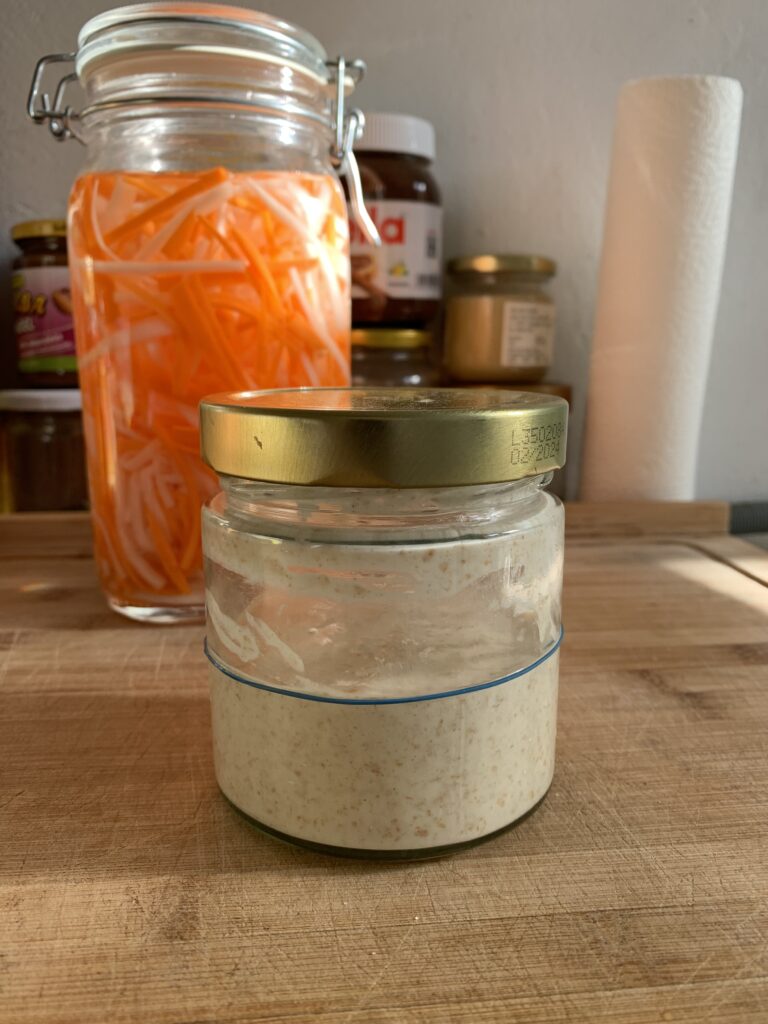
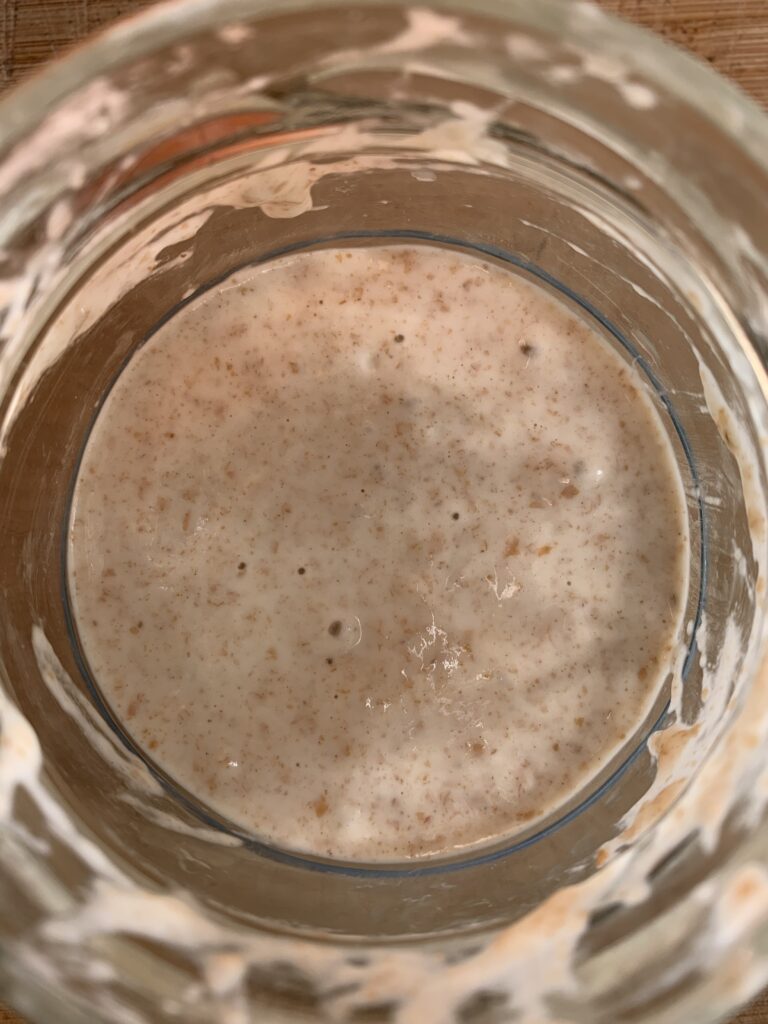
No rise, despite checking throughout the previous night. Did I kill it?? Guess I didn’t take any photos during this period because there was no change in volume. Earthy smell.
11:30
Discarded half, fed as usual.
Day 6
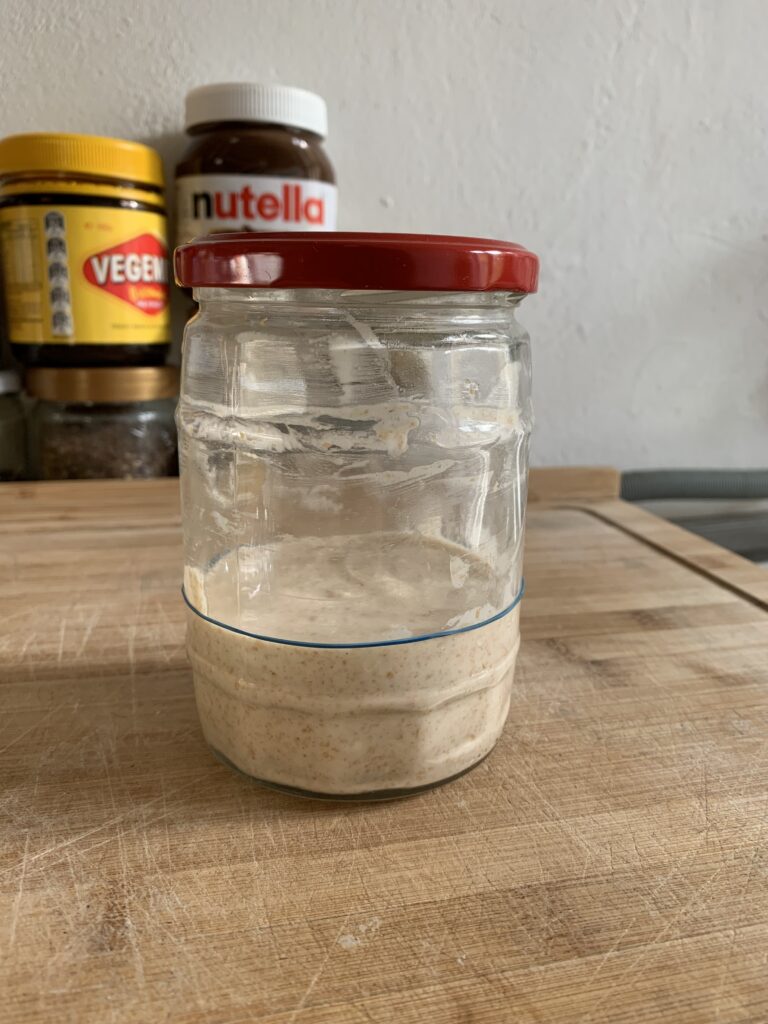
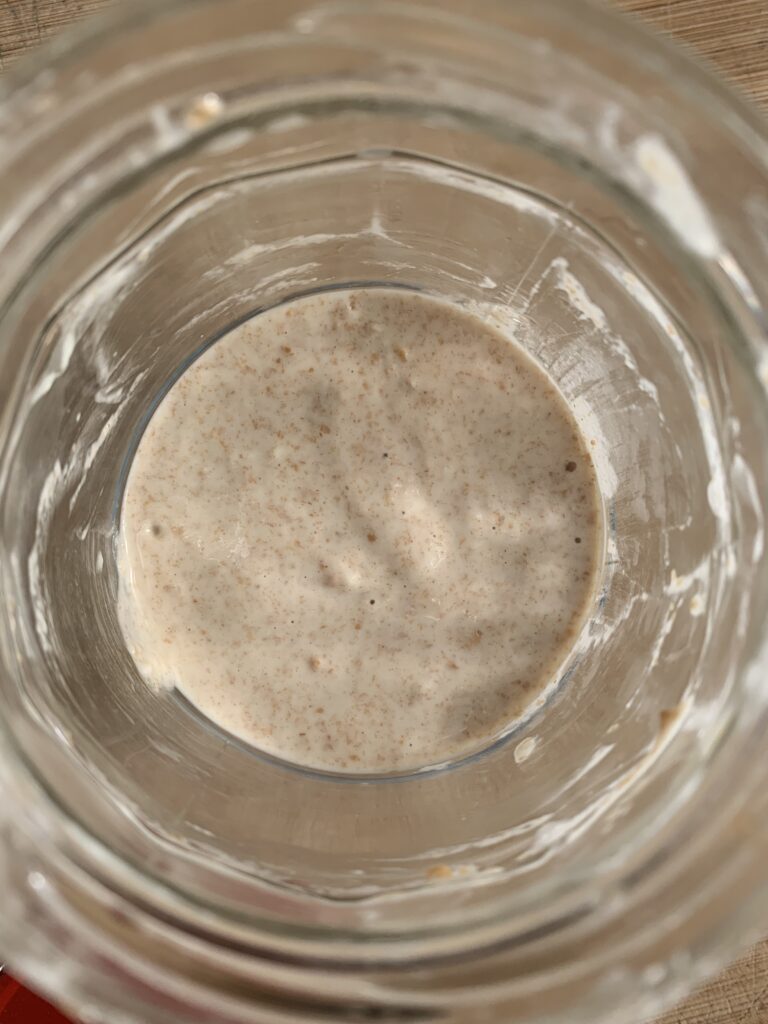
11:30
No activity again. Discarded half, fed as usual. I changed the jar because it was getting gunky.
Day 7
11:30
No activity again. Smells sour, like vinegar. Discarded half and fed as usual, except this time I used only T405 instead of a mix of T405 and whole wheat, I think because I panicked at the lack of activity and wanted to change something?? Not sure of my reasoning behind using only T405 though; whole wheat would have helped fermentation.
Day 8
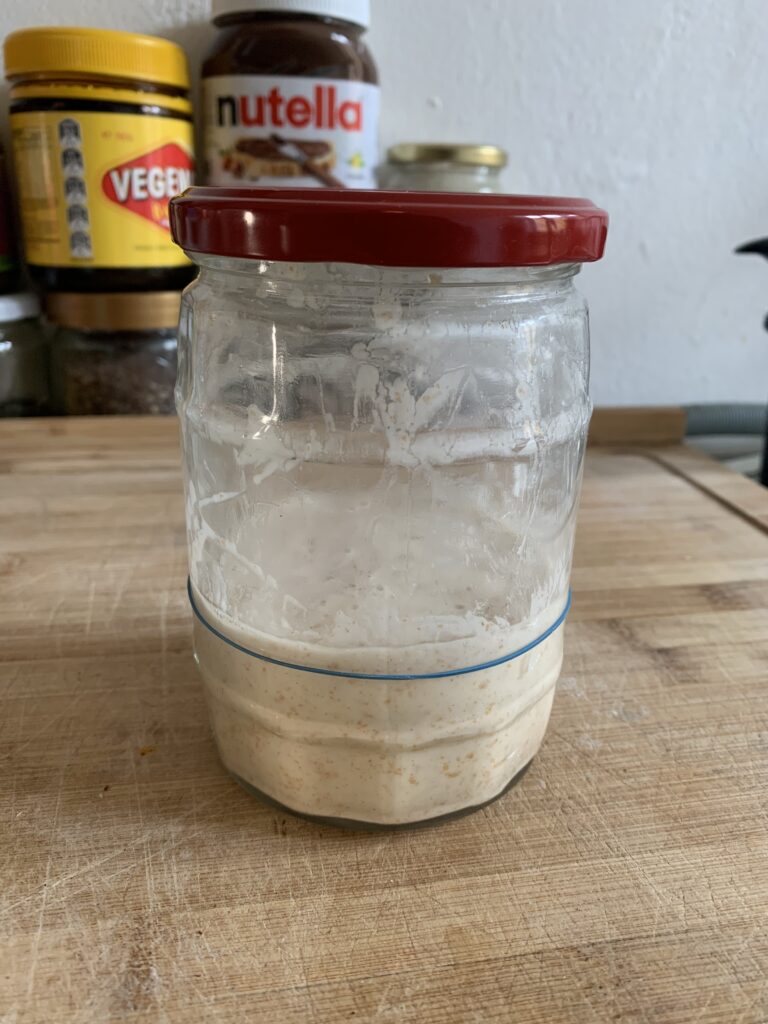
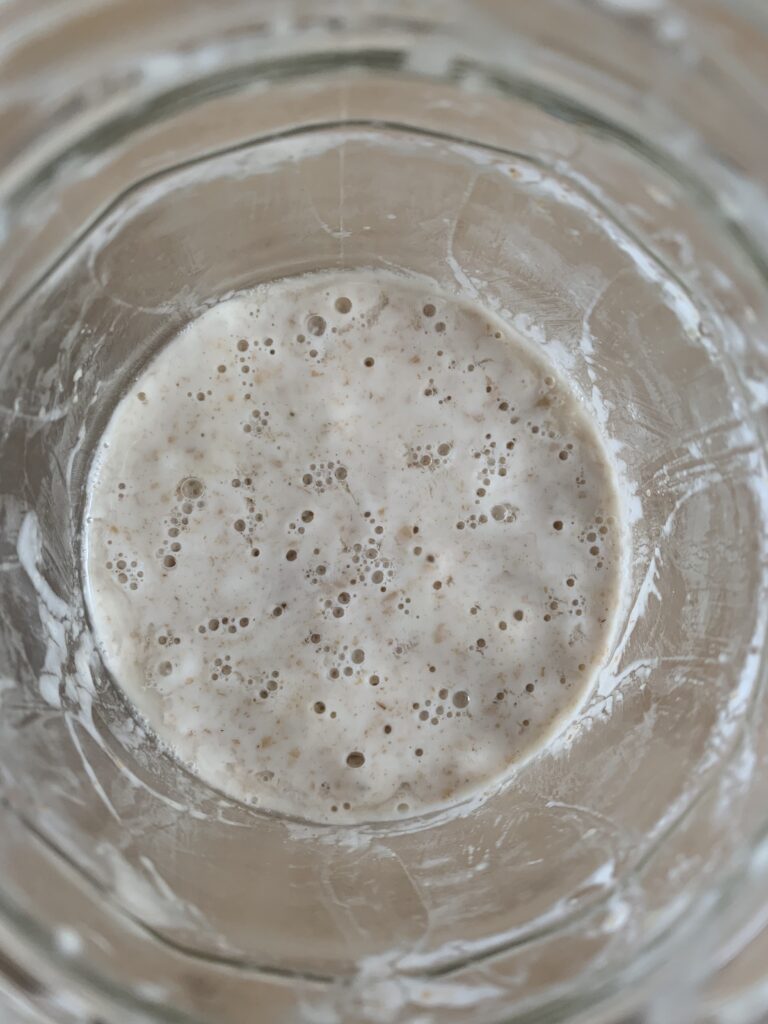
11:30
Sharp vinegary smell. Small bubbles on surface, but no real rise. Discarded half and fed the same as yesterday, this time using 38°C water to hopefully help things along.
Day 9
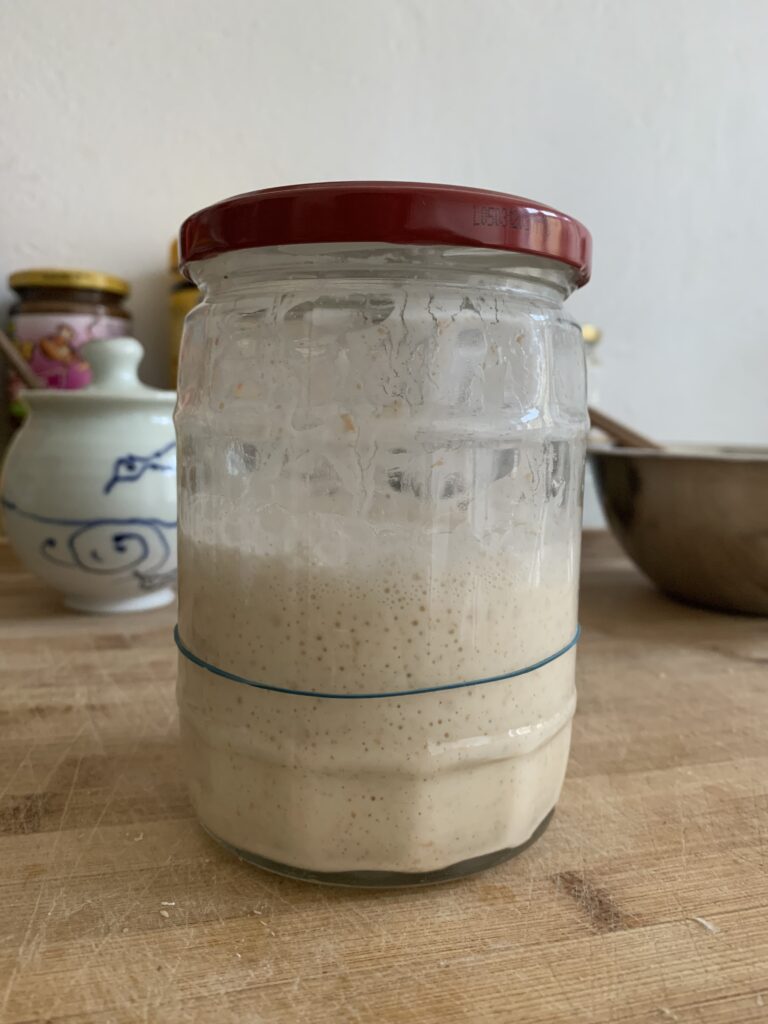
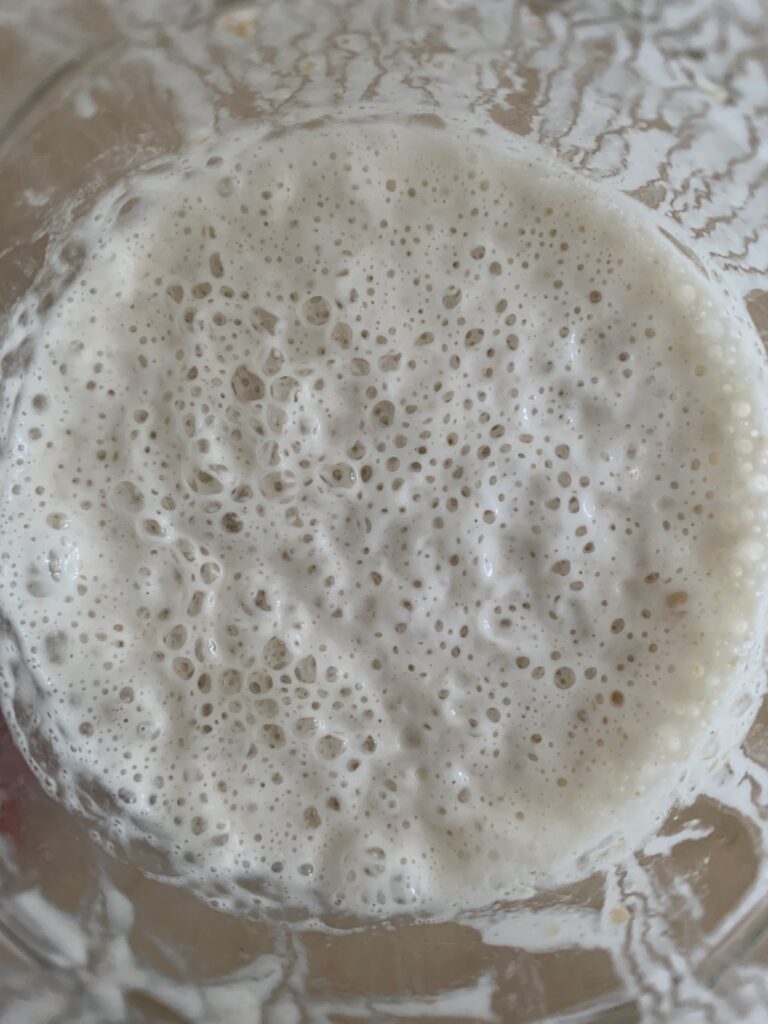
09:00
It doubled!
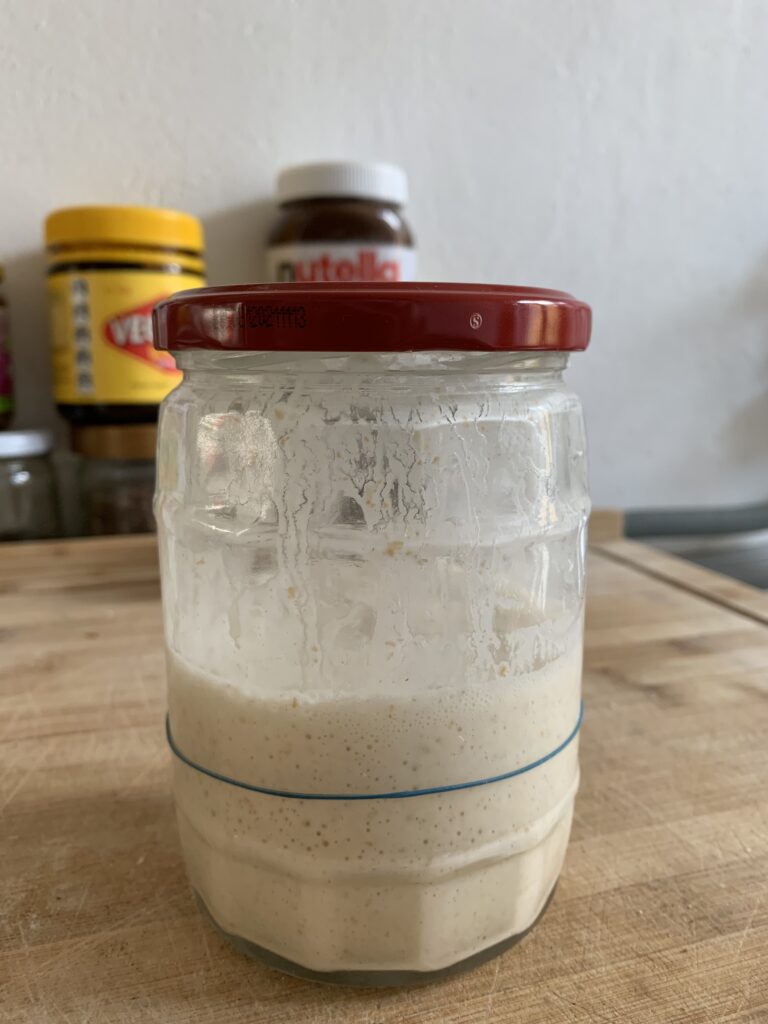
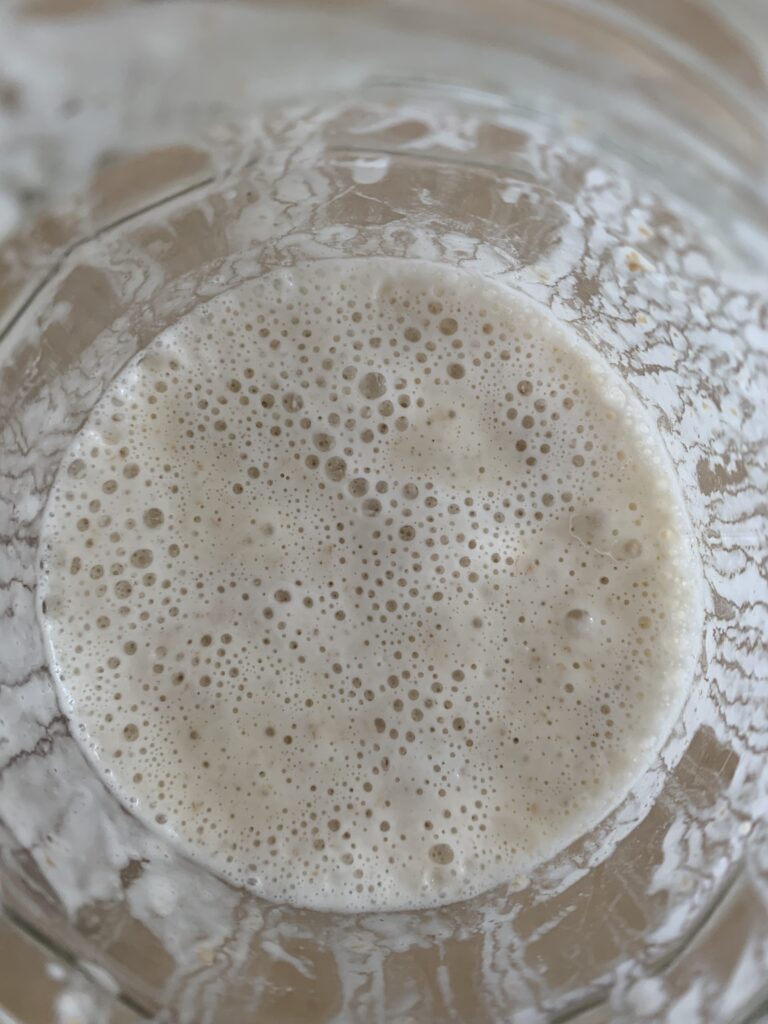
11:30
Lots of small bubbles on surface. Collapsed a little since 09:00. Smells like sour milk—less vinegary than the previous days. Discarded half and fed the same as yesterday.
18:00
Rose by about 50%. Didn’t check after that.
Day 10
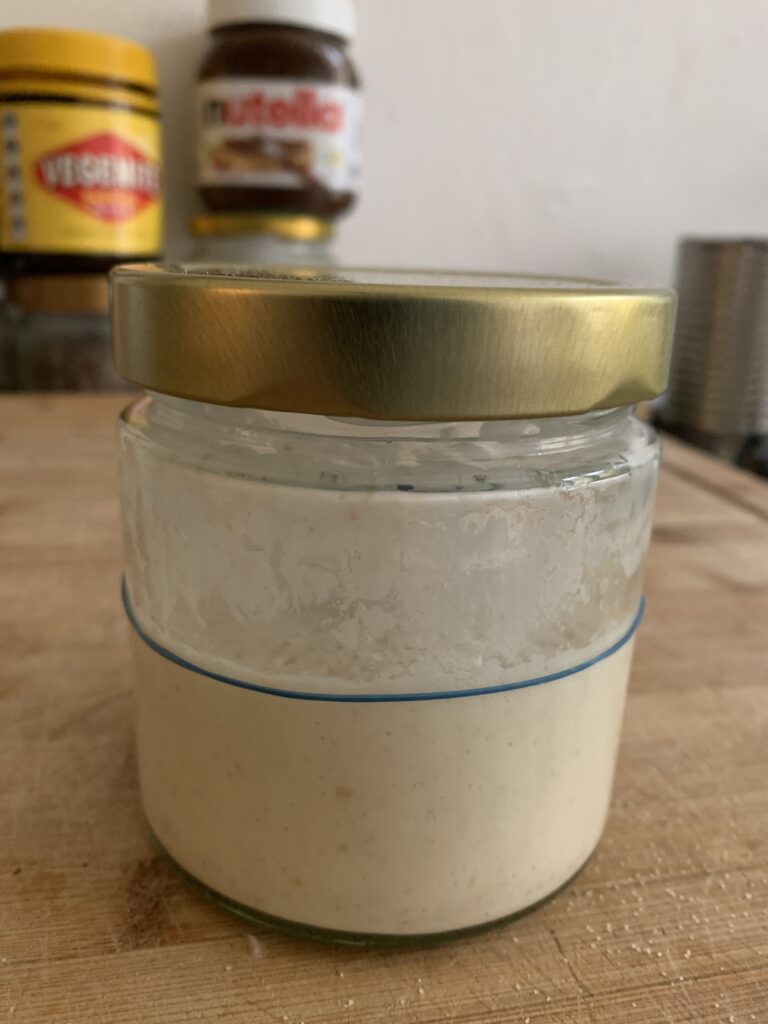
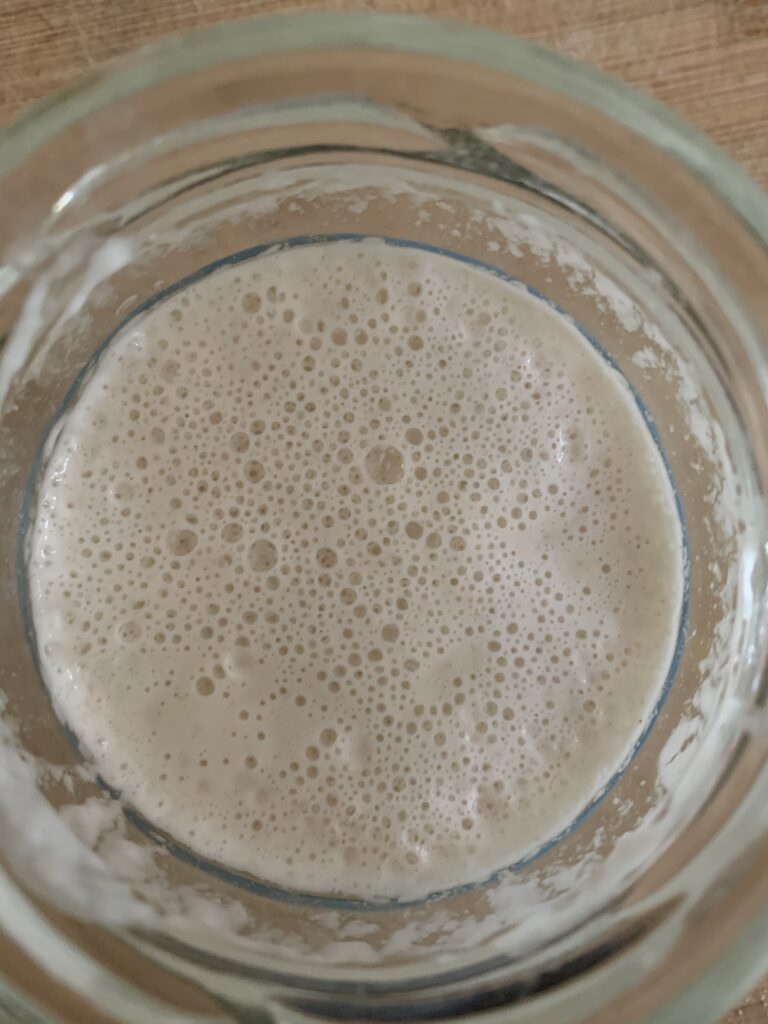
11:30
Collapsed to original volume. Lots of small bubbles. Smells like vodka. Discarded half and fed same as yesterday.
Day 11
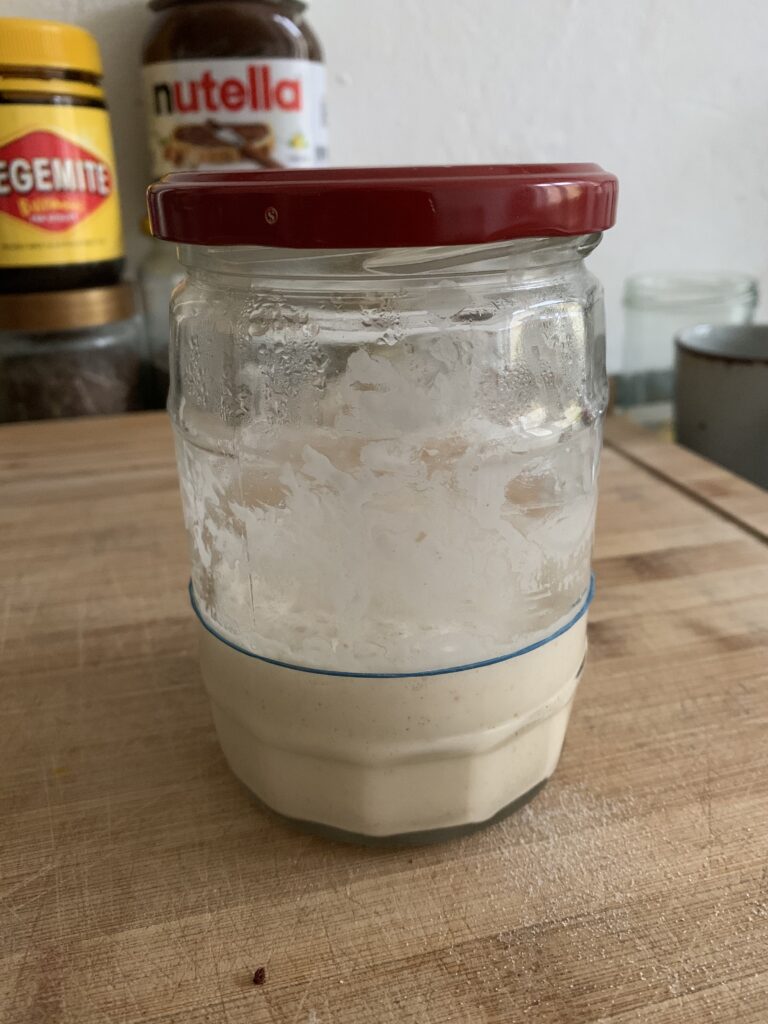
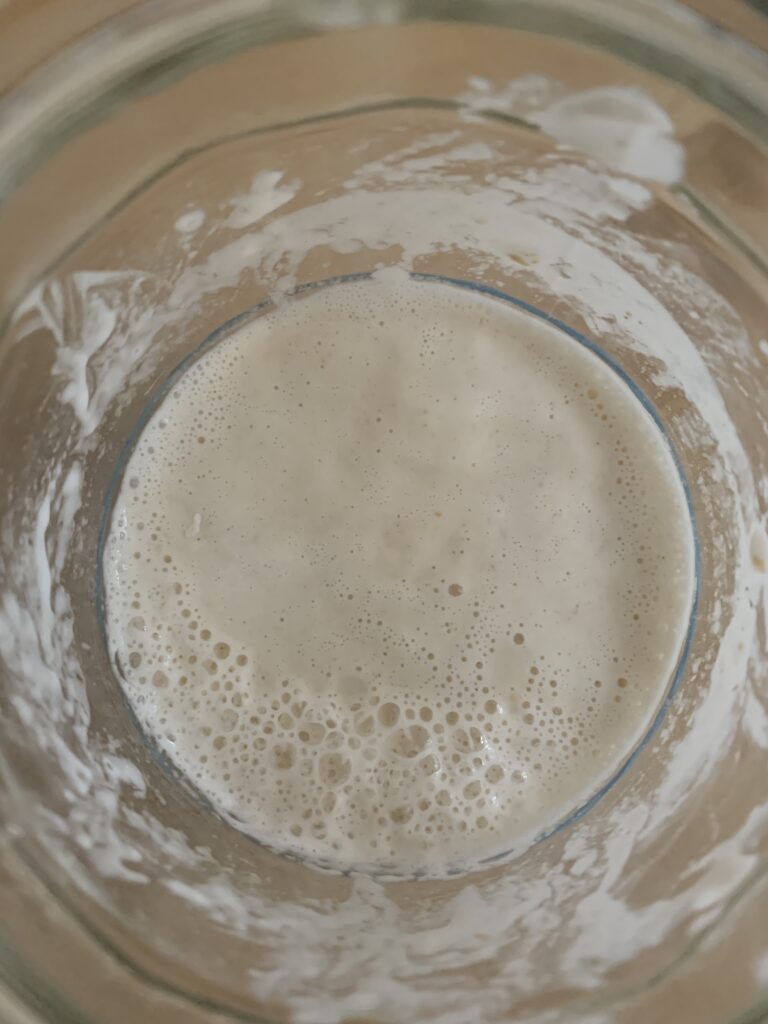
11:30
Fell to rubber band mark after rising about 50% last night. Fewer bubbles than yesterday. Still smells like alcohol, but less strong. Following Buehler’s advice to change this to a stiffer starter, I discarded half and fed it 70g of T405 and 40g of water.
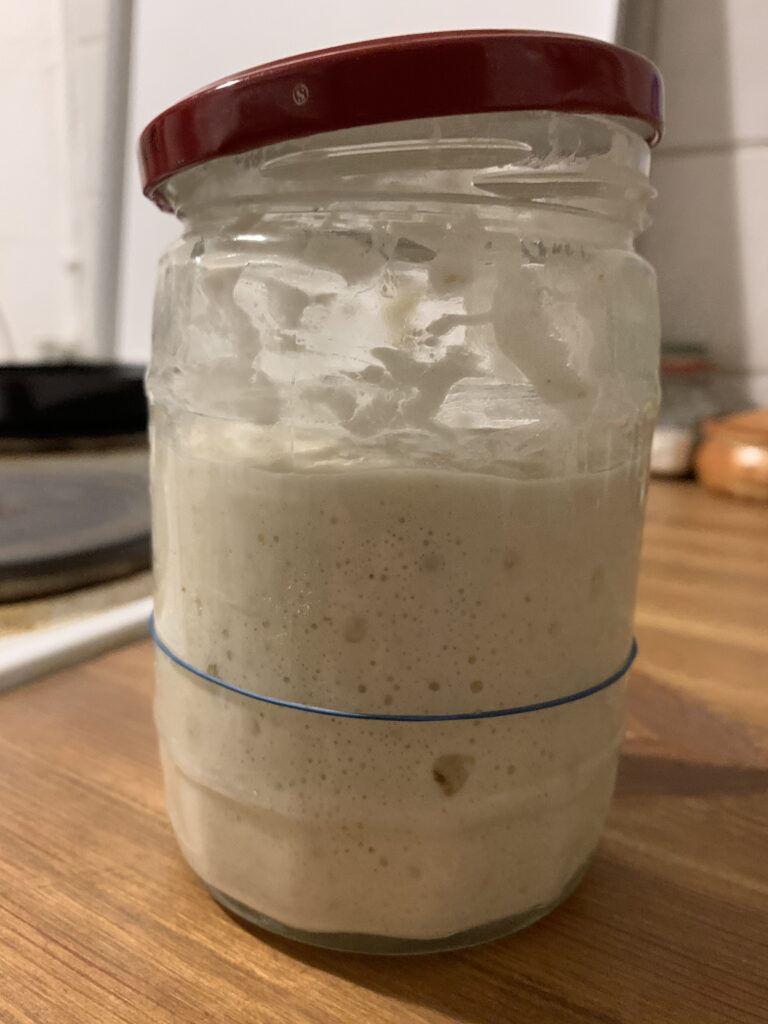
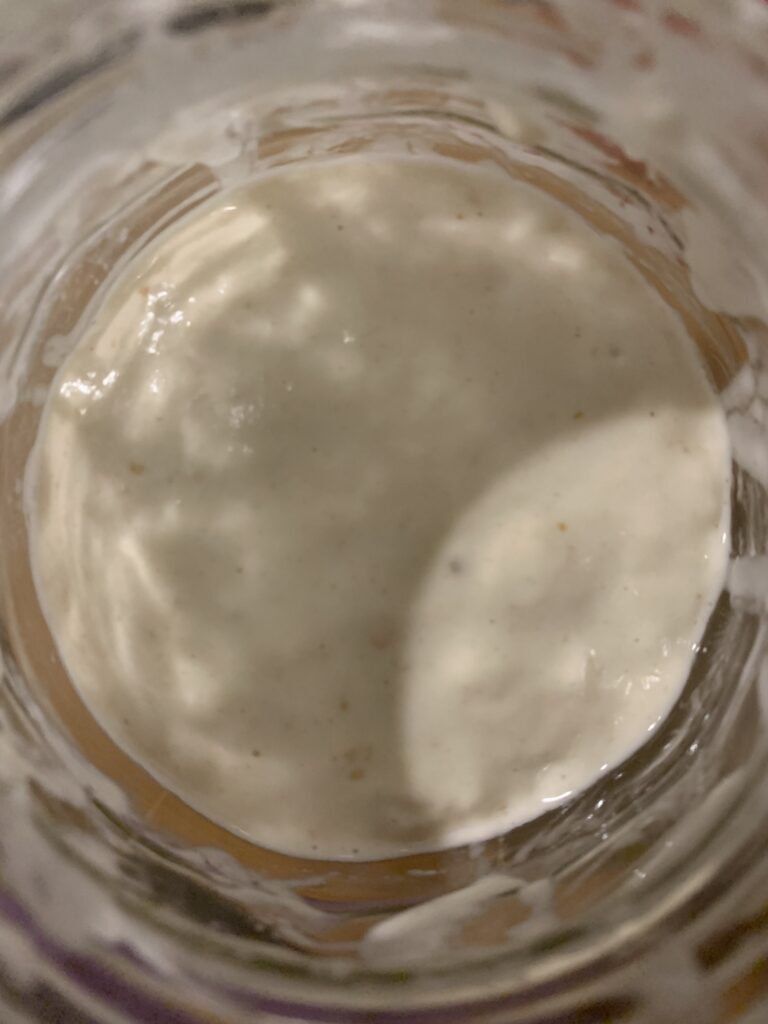
16:30
Starter more than doubled! But oddly enough, there were barely any bubbles on the surface—was the starter too stiff?
Day 12
11:30
The starter had fallen since yesterday late afternoon, but it was still above a 50% increase. Kept 40g of starter, to which 80g of T405 and 80g of water was added. Ratio 1:2:2.
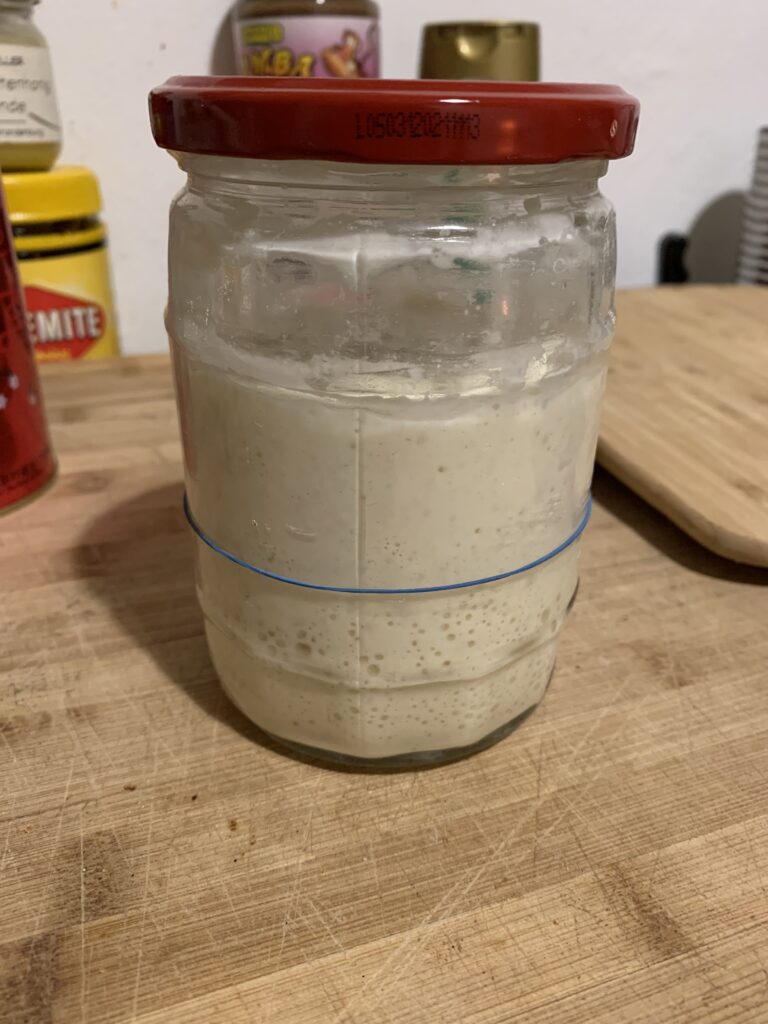
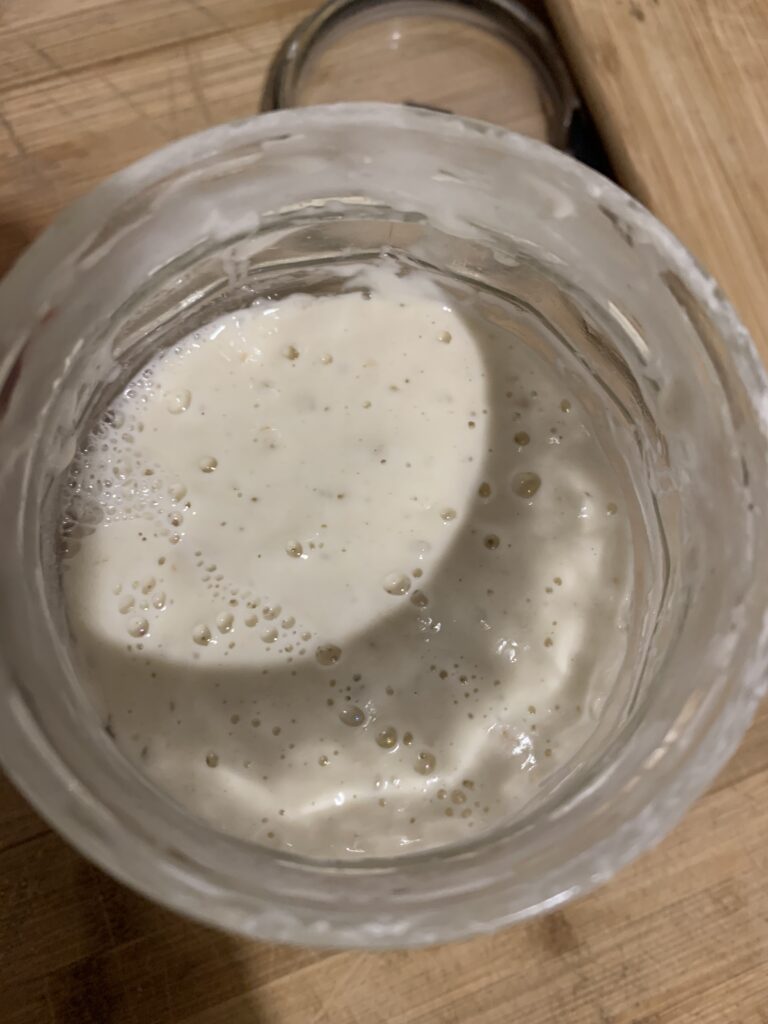
23:00
Starter grew more than double in volume.
Day 13
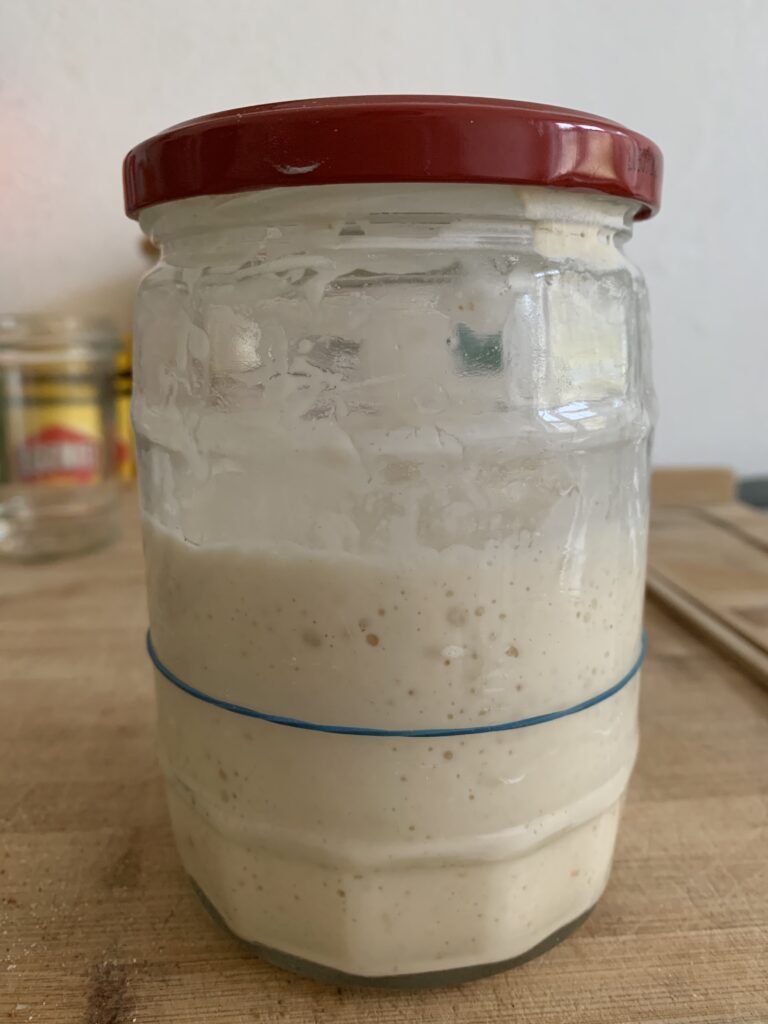
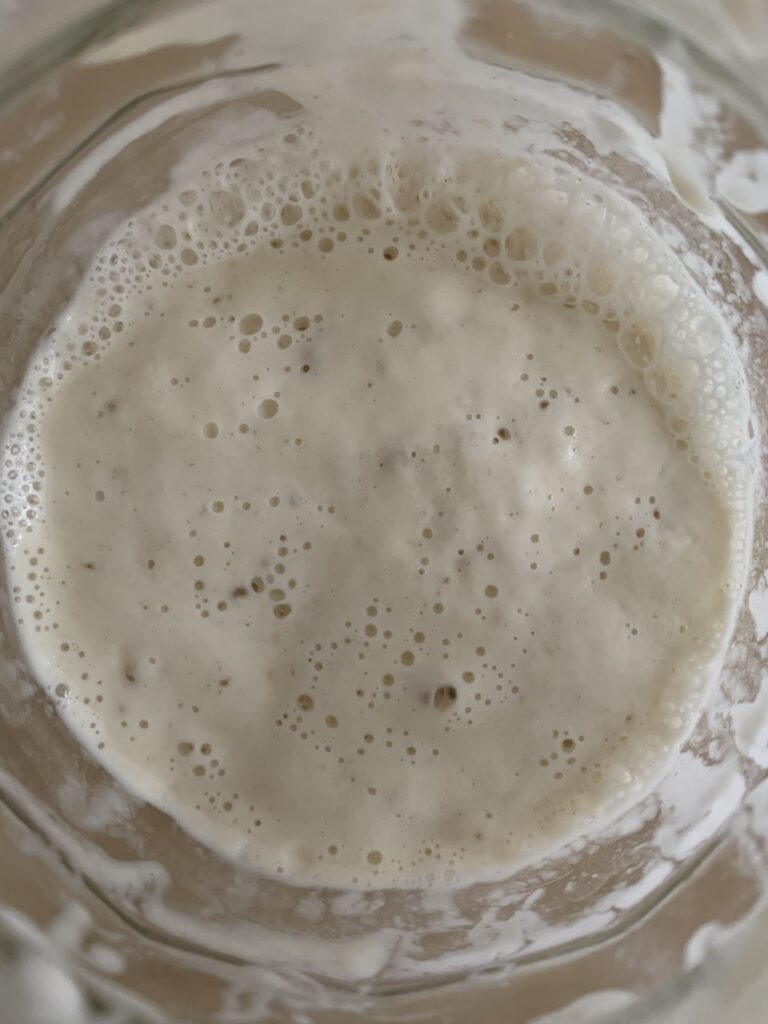
11:30
After peaking around midnight, Keith fell a bit, but not completely. Smells less like alcohol, and the sourness is not so sharp. Kept 40g of starter, to which 80g of water and 40g of T405 and 40g of T550 was added.
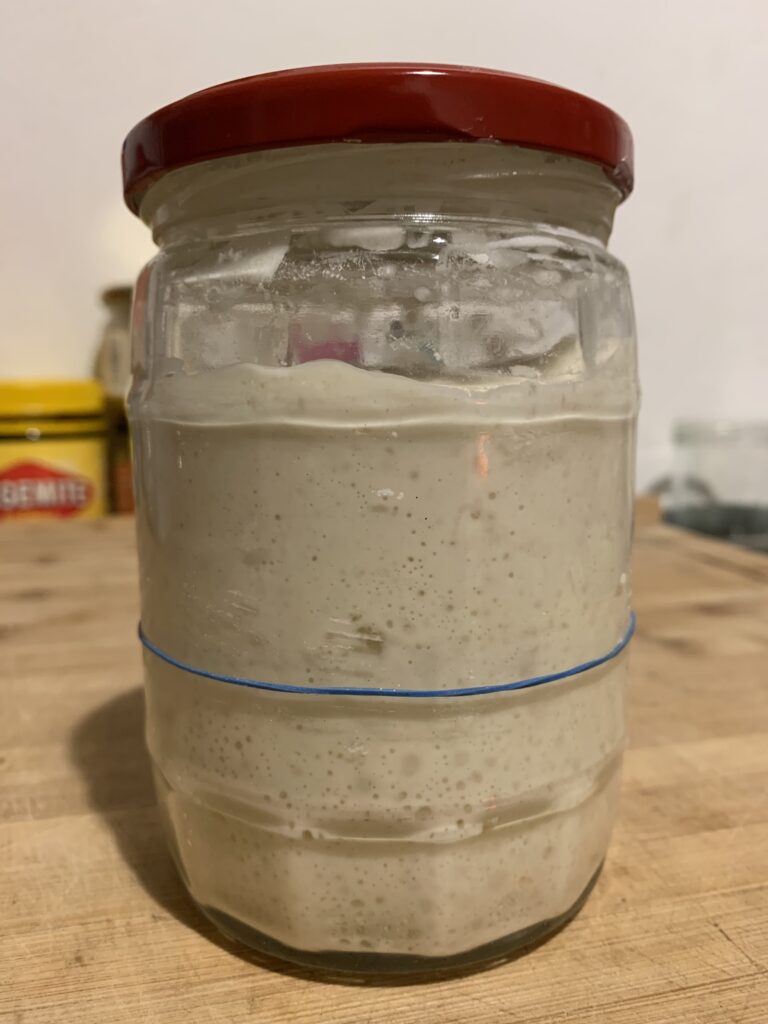
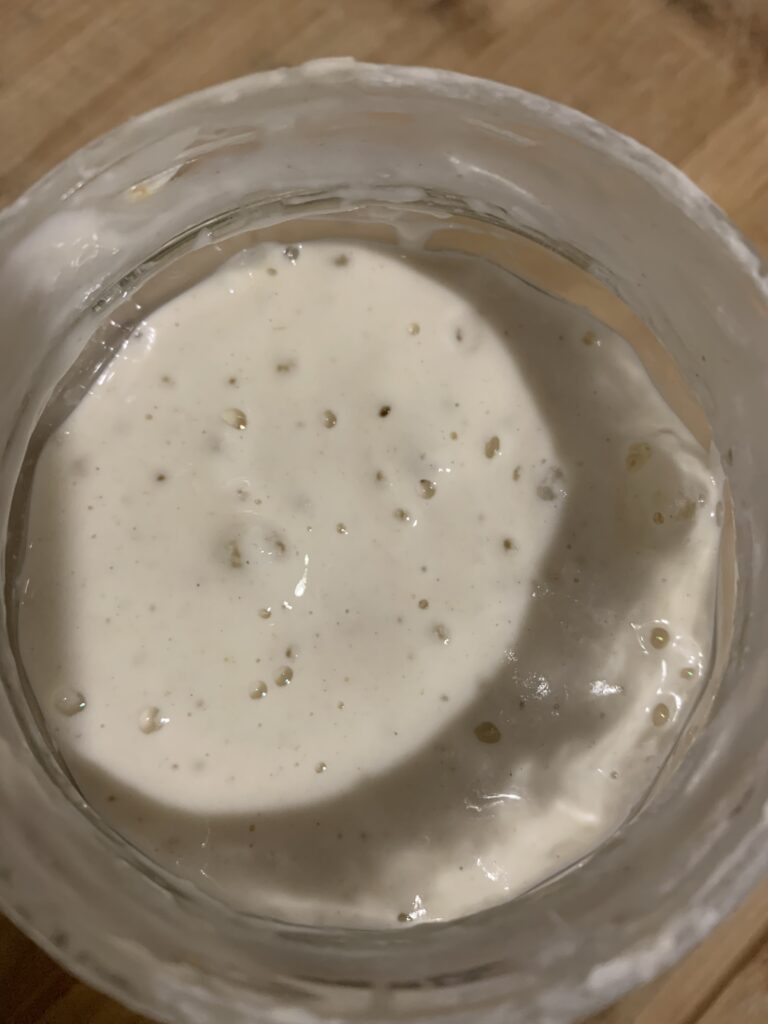
21:30
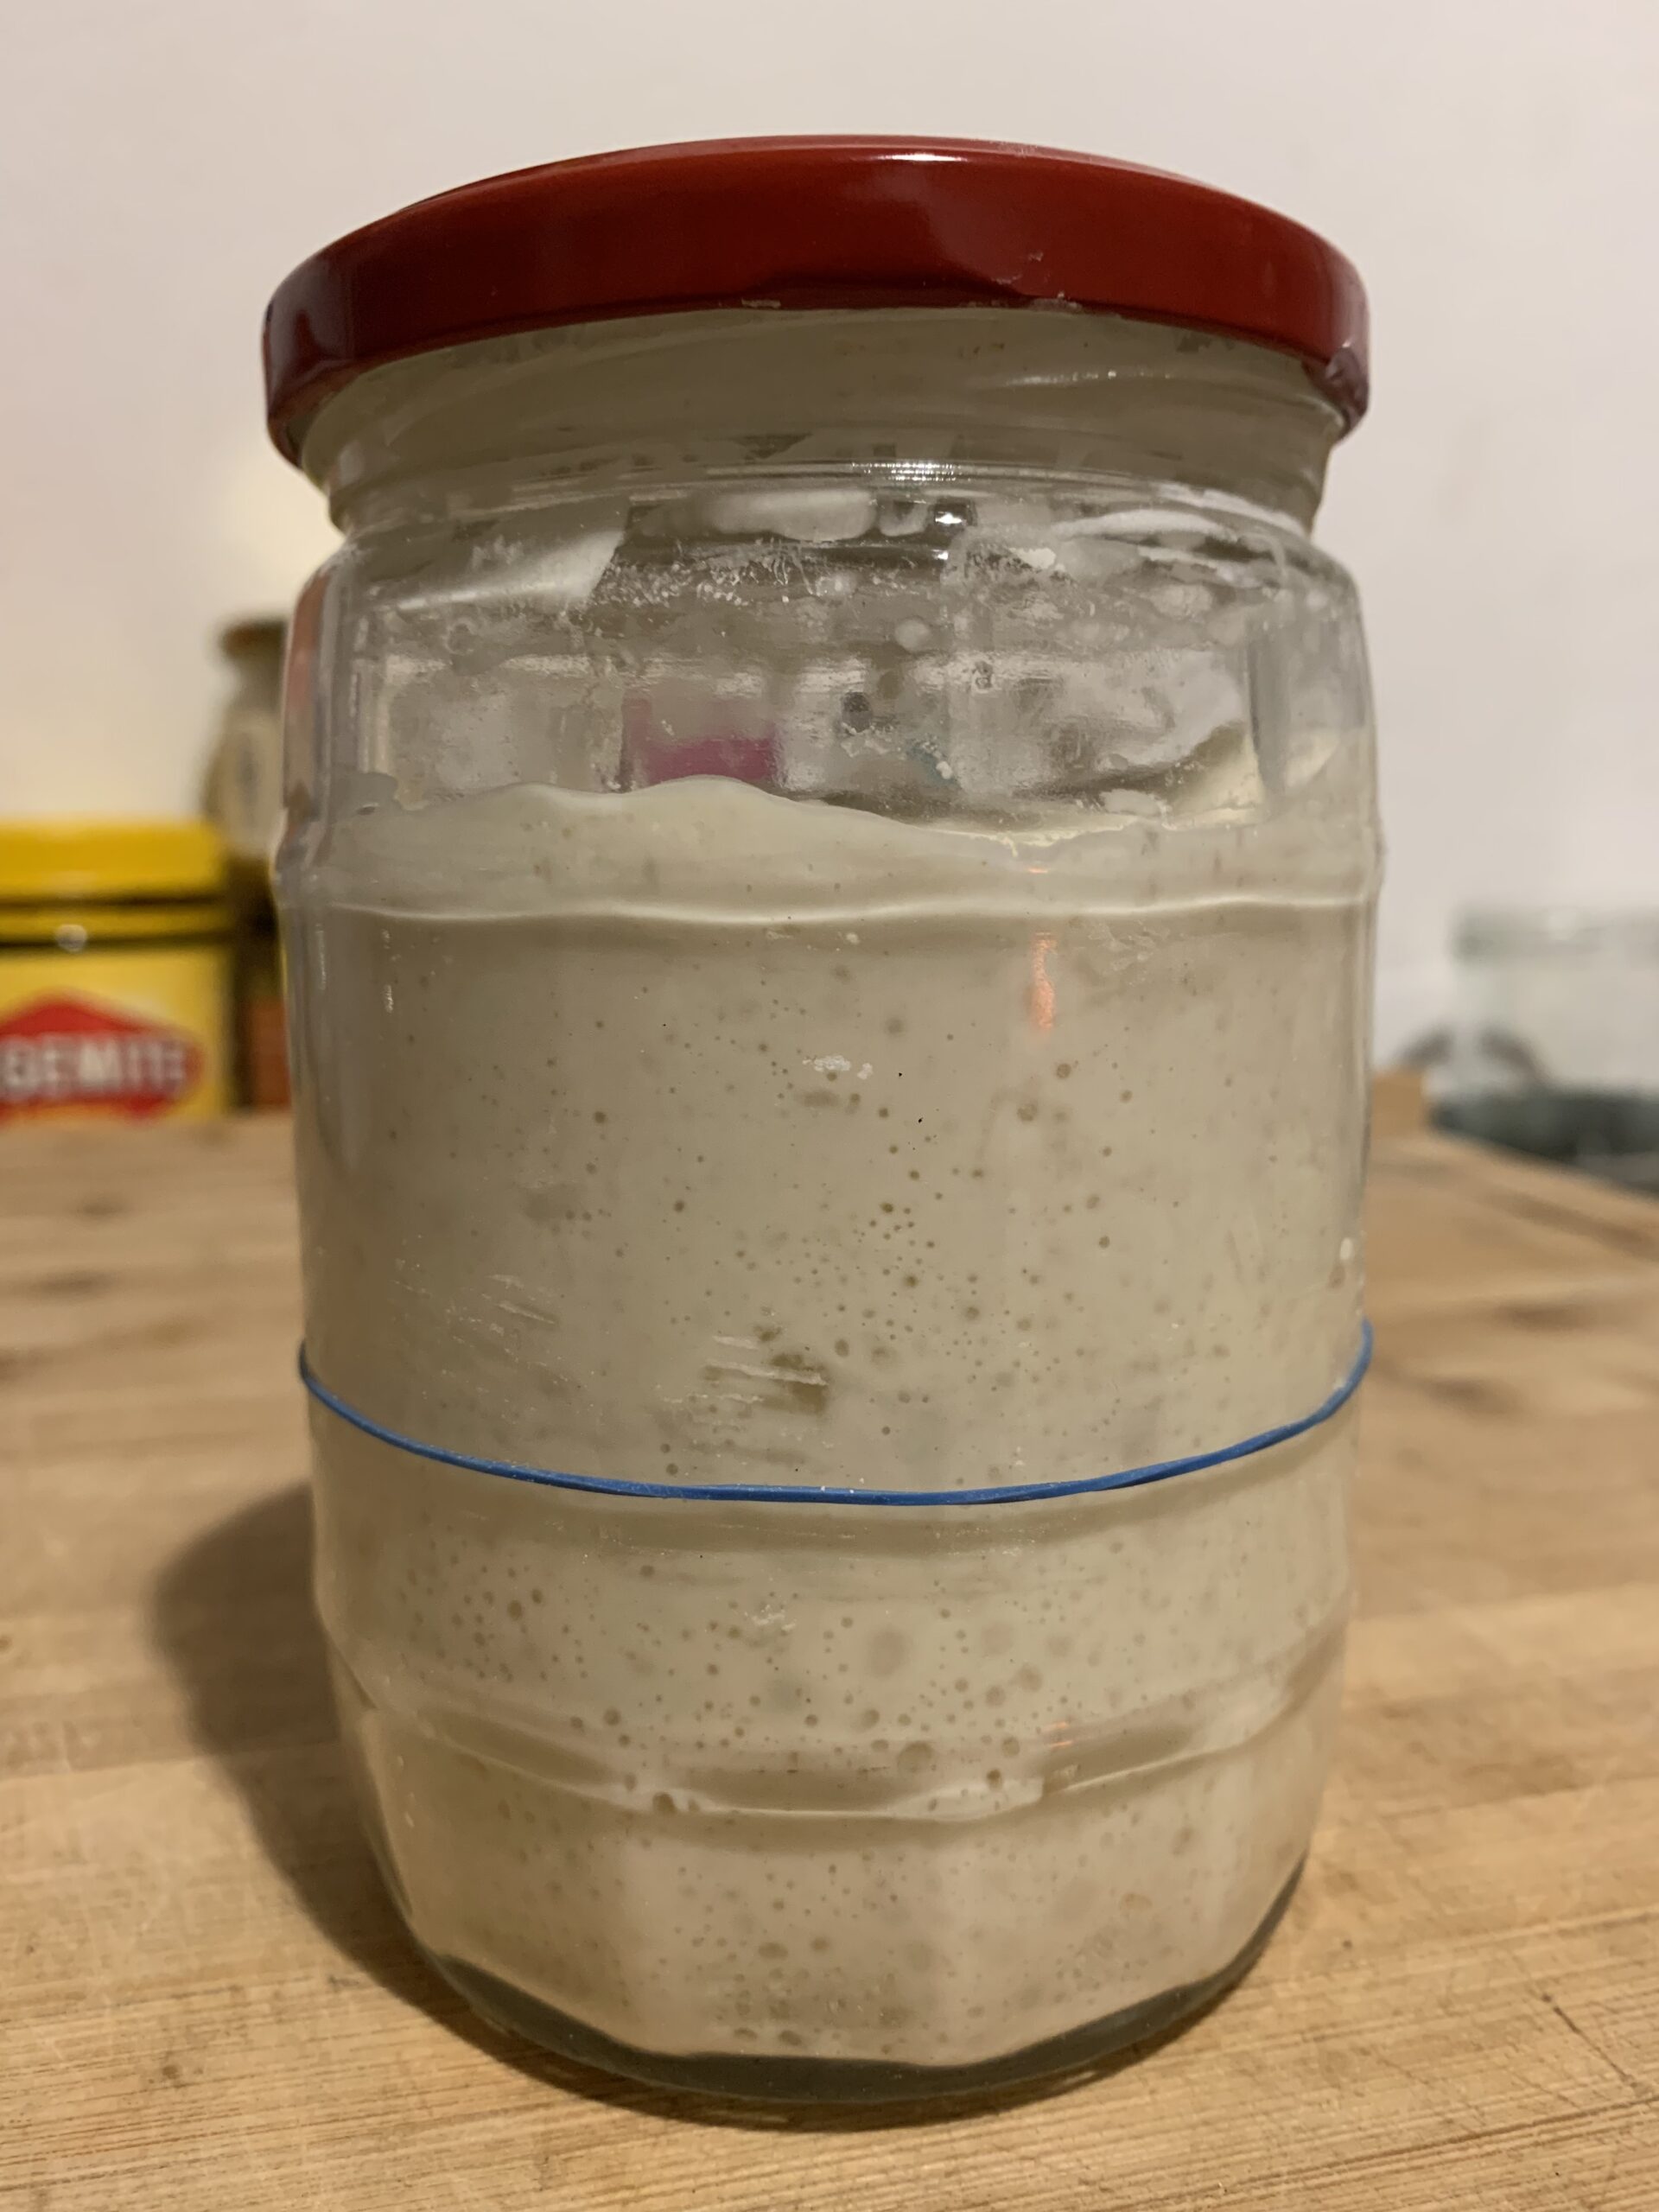
Doubled, almost tripled in volume. It had been peaking more or less consistently enough for the past couple of days, so after a quick float test and much impatience, I decided to go ahead and make my first-ever sourdough bread at home. A blog post on how that all went down (spoiler: not well!) to follow shortly.
What did I learn from making my own sourdough starter?
- The lack of activity, particularly in the first few days, was probably due to my very cold kitchen. To compensate for the low temperature, increase the temperature of your water and place your starter somewhere warm.
- Even when things seem dire, and your starter isn’t rising and smelling like alcohol, it’s worth pushing ahead with the schedule. In the beginning, the bad bacteria are battling with the good bacteria for dominance. When the bad bacteria are winning, your starter will smell like alcohol or acetone. It will begin to smell more fruity and yeasty when the good bacteria take over, but this takes time.
- Reaching peak does not automatically mean double in volume. The maximum volume a starter can reach depends on the type of flour. For example, a starter made from a flour with more protein (and therefore contains more gluten) can expand more than a flour with a lower protein content. So while most recipes tell you to wait until your starter has doubled, what that really means is wait until it has peaked, which could be at a 100% increase, 200% increase, etc.
- Similarly, the rate at which your starter peaks will be influenced by, among other factors, its hydration. A more stiff starter will take longer to peak, while a more liquid starter will take less time. This is because in a stiff starter there is more flour, which means more food for the yeast and bacteria. Conversely, a more liquid starter has less flour and therefore less food. Adjusting the hydration level of your starter can help you speed up or slow down starter activity to better fit your schedule.
- The float test is a good tool to help determine whether your starter is ready to be used in a dough. However, depending on the hydration level and type of flour used, not all starters will pass the test, despite being at peak ripeness. Other cues to help determine starter ripeness are smell (unripe: smells like raw dough; peak: yeasty, sweet and hint of sour; overripe: sour, vinegary and alcoholic) and appearance (lots of small bubbles: good to go!). A starter smells vinegary due to the presence of acetic acid.
- The higher the feeding ratio, the slower your starter will rise. For example, a starter fed at a 1:5:5 ratio will peak slower than a starter fed at a 1:2:2 ratio.
- Every time the starter is fed, a portion of it is thrown out or discarded. Instead of tossing it in the bin, however, you can accumulate the discard in a large jar kept in the fridge and use this in recipes such as pancakes, pretzels, etc. Sourdough discard experiments to follow as well!
That’s all, folks. Stay tuned for more sourdough action.
Jen
Pingback: the good, the bad, and the ugly – Breadventure