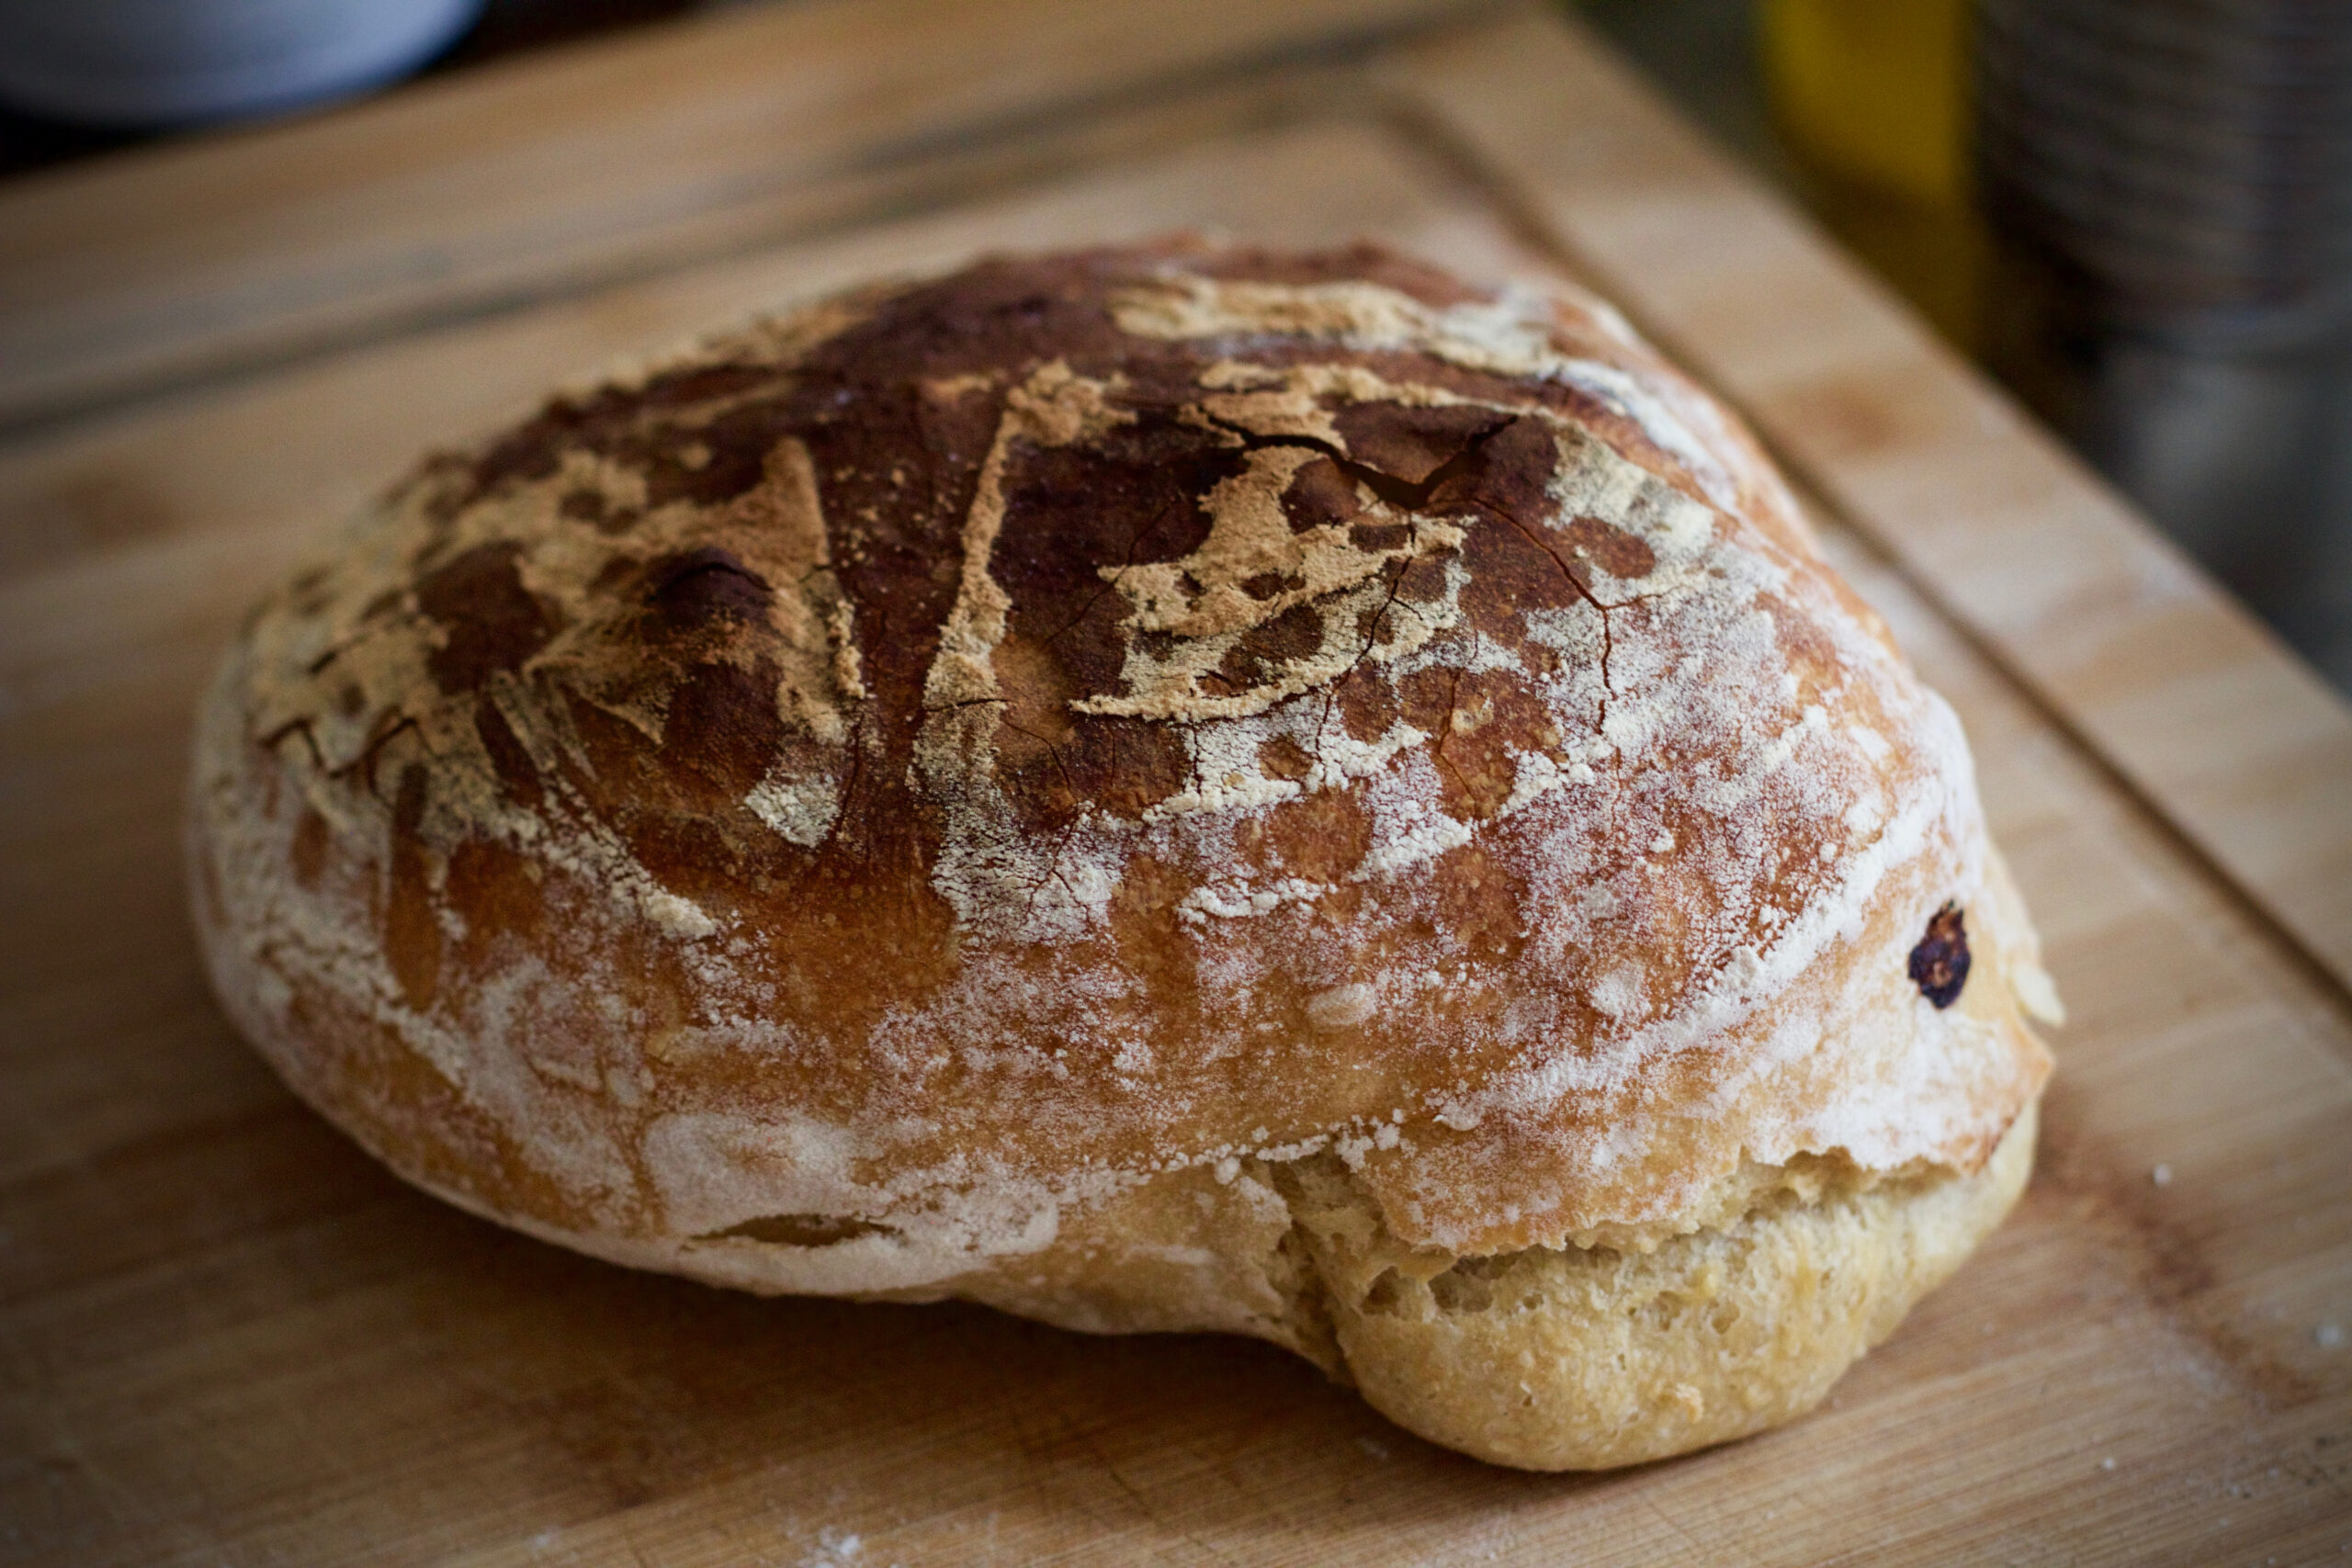
And one I’ve yet to master.
If I had to guess, I’d say I’ve made around 30 loaves of bread so far, though I can’t be sure. While it wasn’t always a linear progression, they were getting better the more I baked.
In the past few months, however, they’ve turned out sad and misshapen, and it felt as though I’d slipped back to square one. Mainly, I wasn’t getting enough oven spring, and they were coming out like flat, dense frisbees.
It was disheartening. And annoying, because I couldn’t say for certain why they weren’t rising properly. There are a lot of factors that can affect how your bread turns out—some beyond your control. For example, higher room temperatures can accelerate the fermentation time, increasing the chance of overproofed dough—which was likely a culprit in my case, as my sad bakes happened over the course of summer.
During this period I’d also switched to milling my own flour. While badass, it meant that I had to figure out hydration levels again since freshly milled flour reacts differently to water than store-bought flour. After some semi-successful and not-so-successful attempts with the new grinder, I decided to go back to pre-milled to keep things simple.
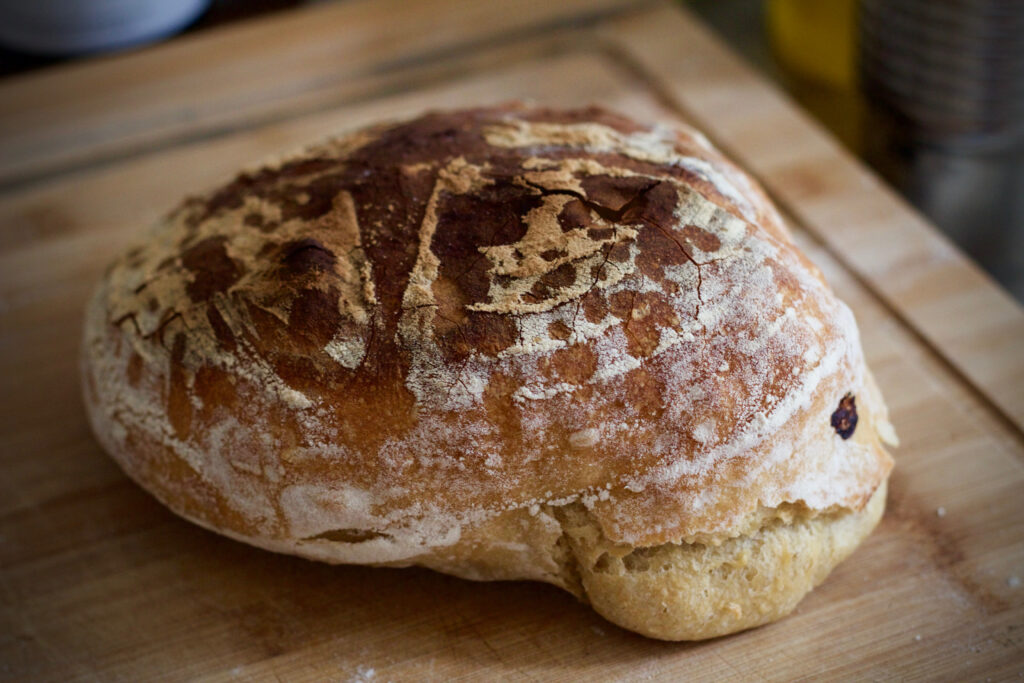
In my latest attempt, however, there were some other things that went wrong. Let’s break them down and take a closer look at how we got THIS.
First, some bread stats:
Wheat loaf, 73% hydration
– 390g Weizenmehl 550 (similar to all-purpose wheat flour), 12% protein
– 6g dry yeast
– 284g water
– 9g salt
Now, onto the procedure.
As always, I start by measuring the ingredients and mixing them together in a large mixing bowl or pot. As soon as the dry ingredients are just incorporated into the wet ingredient, I let the blob sit covered for 15 minutes, whereby the process of autolyse magically smooths out the dough and gluten starts to form.
For some reason though, my usual 15 minutes were not enough this time and the dough was still very shaggy and sticky. I knead it for about a minute before letting it rest/autolyse for another 10 minutes. Some improvement the second time around, but still the dough wasn’t smooth enough and tore as it was stretched.
Wise words coming up: set your timer. I had intended to let the dough rest for another 5 minutes but got distracted by something and forgot about it completely until some 15–20 minutes later. By now the dough had autolysed for around 45 minutes, compared to my typical time frame of 15. Not sure how that affects things.
Besides that irregularity, the rest of the steps were the usual ones I take: three coil folds every 20–30 minutes to build strength during the bulk ferment, final proof in basket until the dough passes the finger poke test, bake in makeshift “steam” oven—so where did I go wrong and why did I end up with Nurse Gollum?
The leakage on the side might have been due to poor scoring. As you can see in the photo above, the cut wasn’t deep enough to develop an ear, so the gasses released by the yeast didn’t have a designated exit point. Therefore, they had to look for an alternative escape route, targeting the weakest area that they could break through.
Unfortunately the problems continued beyond the exterior aesthetics. Slicing into the bread revealed a large hole towards the top, which might also have something to do with not scoring deep enough, google told me. Or maybe the hydration was too high. Or I didn’t knead long enough. Or the oven wasn’t hot enough. Etc etc. Seriously, the list of reasons why your dough/bread did a weird thing can get pretty lengthy.
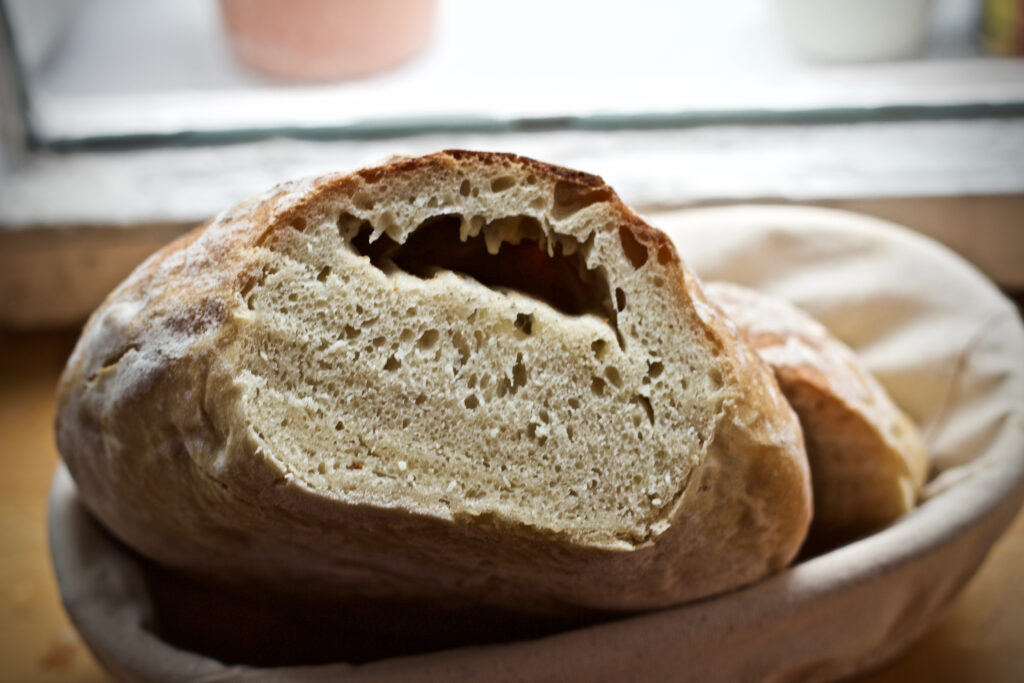
The bread was also too dense for my liking, a common theme among my latest endeavours. A lighter bread requires a good amount of kneading, something I’ve gotten lazy about (one minute is definitely not long enough lol). Might be time to whip out the good ol’ hand mixer.
So, here I was, more than a year after my first bake, with a dense, disfigured loaf. So much worse than my first bread, in fact. Not gonna lie, I was pretty bummed when I took her out of the oven. But with a quick shrug of my shoulders I decided, hell, I will celebrate her anyway, and prepared her for a couple of dreamy, wistful portraits.
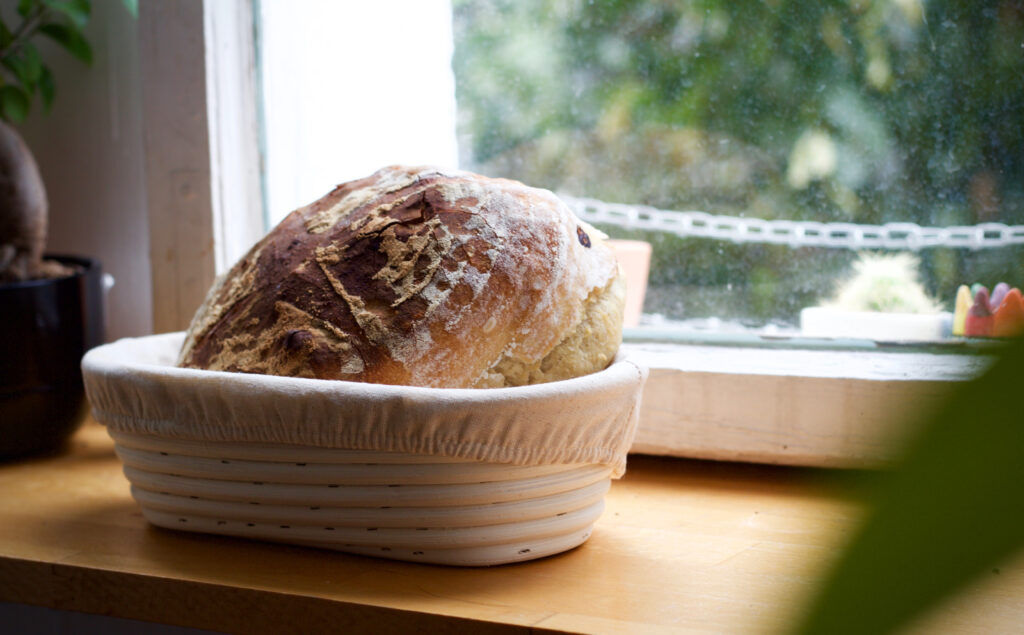

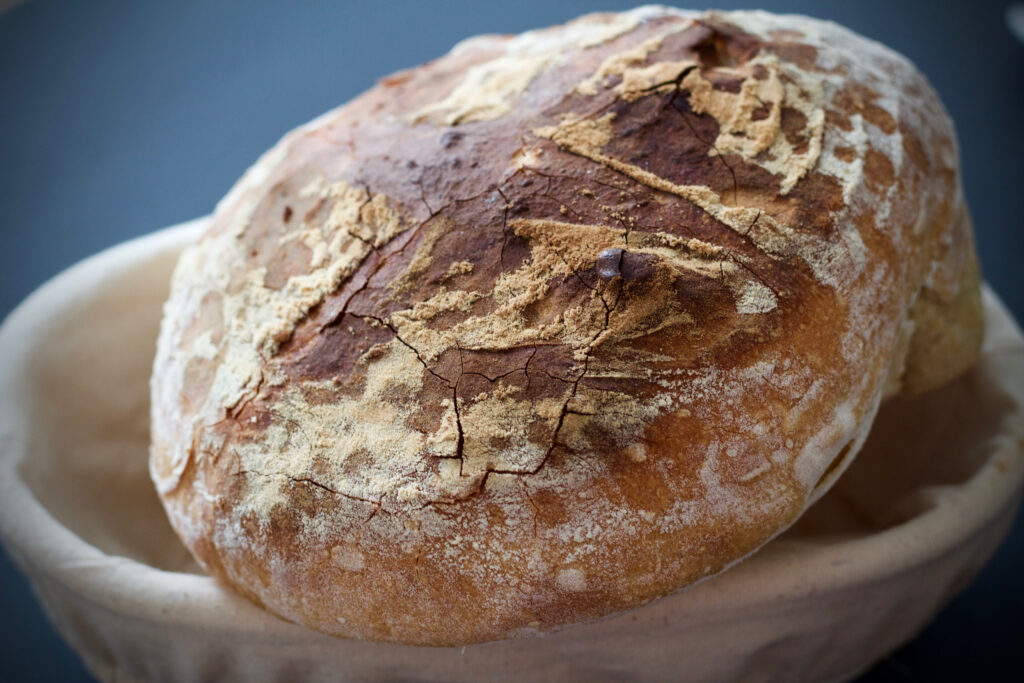
For the next bake, these are the points I need to work on:
- Scoring technique—deeper and at more of an angle to allow the gasses to escape and develop more of an upwards rise
- Kneading—longer to build strength and create fluffier crumb
- Timer—don’t forget to set it
If anyone has any additional tips on how to avoid breads bursting at the sides, I’d be happy to hear them!
Until next time,
Jen
