Hello, hello, hello.
It’s been a while since the last post, and I wish I could say it’s because I’d been ~crazy~ busy with life, but honestly, I’d hit a roadblock. I was simply disheartened with the results I was seeing of late and therefore not motivated to write about it. Yes, I was getting that oven spring, finally, but despite that my bread was coming out rather dense and heavy. Don’t tell anyone, but I kind of started to not even enjoy eating it.
And the thing was, I didn’t do anything about it. Here I was, making bread that I didn’t want to eat, but not changing up the recipe. So of course, dude, if you’re gonna use the same method, there’s not gonna be any improvement, na what I’m sayin’?
But enough jibber-jabbering. Just like the longevity of this sentence before you actually reach its point, screw the blogs that make you skim through walls of text about their kids and what Fido the dog was up to that weekend before you get to the actual recipe, or a long-ass lament about the author’s struggle to get flour back in the early days of the ‘Rona to find no recipe at all (soz). No shade to Fido the dog, though—keep living your best life.
But sometimes you just need that recipe stat because you overestimated your skills, having thought, bro, I’ve got this, and proceeded to make whatever it is you’re making until at some point you realise, fuck, I don’t know what I’m doing, and quickly jump to the ultimate know-it-all, the Internet, to find a real recipe that knows what it’s talking about so you can figure out where you made that fatal detour and whether you can get back on track.
So. Yah. On to the recipe.
Wheat and whole wheat, 75% hydration
– 320g all-purpose flour/550 Weizenmehl, 11% protein
– 70g whole-wheat flour/Weizenvollkornmehl, 11% protein
– 295g water, divided into 200g and 95g
– 3g dry yeast
– 9g salt
The night before
Since the amount of whole-wheat flour is pretty low, replacing it with all-purpose for the total 390g of flour shouldn’t be a problem. I added some whole wheat because I ran out of all-purpose, which is not a bad thing at all because a sprinkle of it can give your bread a touch more flavour and texture.
For the water I used the finest filtration by Brita, straight from the fridge. I kind of forgot that the yeast need a warm environment to thrive, so to avoid having to stay up way past your bedtime urging your dough to rise, I recommend heating the water up to around 30–35°C, or until it feels lukewarm.
Autolyse
Your first step is to mix 200g of water and all of the flour together in a large bowl and let it sit for 15 minutes. This is called the autolyse. I recently learnt that it’s better to first start with water in the bowl and then add flour to it. If you do it the other way around the dry bits of flour tend to stick to the surface of the bowl, making it harder to incorporate. Your goal here is to just get the two ingredients to come together as one whole shaggy mass, and cover it with a damp tea towel, cling wrap or lid if you’re making it in a pot. No kneading just yet.
Add the yeast
After the 15 minutes you will see that your dough has become more uniform and smooth. That’s the magic of autolyse. It’s like you’ve kneaded the dough without actually putting in any effort. Cheers, France, for your hard work on developing techniques to avoid having to do hard work. Give your dough one, two quick kneads to awaken it and then we will add the yeast and about half of the 95g of water. Mix this in well with your hands. As you mix new water into your dough, highly uncomfortable squelching sounds will start to emerge. If you’re not mentally strong enough to block it out, chuck in your Airpods and continue. I need to see if I can rework this step, as it does take some time to get the new water to incorporate into the dough.
Add the salt and knead
Once that’s roughly combined, go ahead and throw in the salt and the rest of the water. More squelching sounds entail. Knead with your hands until it’s starting to come together as one cohesive thing and then switch to a hand or stand mixer to continue the kneading process. If you don’t have either, it’s totally fine; elbow grease will get you to the same destination, albeit at a slower pace. You’ll know the kneading process is almost done when the dough starts to come away from the sides of your bowl, gathering at the centre.
To confirm that you’re ready to move onto the next step, let the dough relax covered for about 5–10 minutes and then pinch the dough from the top and slowly pull it upwards. If you can stretch it really thin, so thin that light can past through it, without the dough tearing, then congratulations, you’ve passed what is known as the window pane test.
Fold and pre-shape
Now we dump the dough onto an unfloured bench. That’s right—unfloured, because in this step we need the dough to stick to the bench to help us create dough strength. If you have a bench scraper, it will come in handy here. If not, then… you should probably get one. Start folding the sides of the dough into the centre and continue this in a clockwise (or anti-clockwise, doesn’t really matter) direction until the dough starts to hold up on its own instead of being a flat puddle.
Once it starts to become somewhat spherical, flip the dough upside down so you get a smooth surface on the top and shape it into a ball. Cut off a small piece of the ball, a bit bigger than the size of your thumb, and put it in a small clear glass jar. Then use a rubber band to mark the top of the small piece of dough in the jar. This will be your sample to monitor how much your larger—bulk— dough has risen.
Reshape the dough into a ball and let it sit in some kind of large container, covered, until the sample is almost doubled in size. The amount of time for this will vary depending on a variety of factors, including climate/room temp, water temp, brand/type of flour, etc. For me, in Germany in winter, it takes around 4 hours.
Three folds a lady
During this first rise, also known as bulk fermentation, we will do a total of three coil folds, one every 30 minutes. This will help to give the dough more strength, as well as redistribute the yeast farts so that you get a more even crumb. Less folds, the more wild the crumb. It’s partly a matter of preference, how many folds (and therefore how wild the crumb) you want. I usually only do three because I’m not a fan of butter slipping through the extra large holes in my slice. This sentence sounds more dirty than intended.
Shape and refrigerate
Once you let your dough rise to around 75% or just under doubled in size, using your sample jar with the rubber band to assess its progress, we will move onto shaping and then retarding it in the fridge overnight. Flour your work bench lightly, just enough so that there’s one thin layer, but no more. Equally very lightly flour the top of your dough while it’s still in the bowl. Using wet fingers, scrap around the edges of the dough where it touches the sides of the bowl. This will help to release the dough more easily onto the bench. Tip the bowl upside down onto your floured surface. If your dough slowly detaches from the bowl, starting from the sides before moving to the centre until the whole thing plops gently onto your bench, it’s a sign the fermentation went well.
Now pull the sides of the dough outwards, flattening it slightly, so that it forms a rectangle, all the while trying to ensure that it remains more or less even. There are a few different ways to shape dough, and again it’s a matter of preference. I’m liking the new method I’ve recently switched to. It starts with grabbing the bottom third of your rectangle, pulling it out slightly towards yourself before bringing it up to stick onto the top of the dough, leaving the top third untouched. Then pull the top third from the centre down towards the bottom edge and press down gently to ensure it sticks. At the top you will now have these “ears” that stick out—pull the left one down and across to the centre, then do the same with the right side, bringing it slightly below where the left one ended. Then repeat this left–right set, or stitching motion, two more times down the length of your dough. You should end up with a log that can hold its shape.
To add a bit more strength, you can flip the dough upside down and drag it with cupped hands towards yourself a couple of times, using the surface tension of the bench to shape the dough more tightly. Then flip it back over into a floured banneton so that the seam side is up. Another light sprinkling of flour on top of the dough, then loosely cover the banneton with cling wrap (I also like to place the banneton linen over the cling wrap like a shower cap) and it’s ready to sit in the fridge overnight.* Don’t forget to cover your sample and put it in the fridge too, so we can monitor the dough’s progress.
*Soooo I’ve realised that I forgot to let the dough rise for a second time before placing it in the fridge. However, my dough does continue to rise a bit in the fridge (temp is around 5–6°C), so it kind of does proof a second time. I think if my fridge were colder and would stop the fermentation immediately, I would let the dough proof on the bench for about 15 minutes, do the poke test, and then put it in.
The next morning
Depending on when you want to eat your bread, you will need to get started at least 2 hours beforehand. While your bread only needs about 45 minutes in the oven, you will also need time to let your freshly baked bread cool down before you cut into it. This is actually a crucial part of the baking process, whereby the residual heat is still working its way through the bread, ensuring that you don’t end up with a gummy centre. Having said that, I’ve been guilty of cutting into the bread before it had almost completely cooled down because who can resist fresh-out-of-the-oven bread?
Another thing to account for is how long it takes to heat up your oven to a piping hot 230°C. So add that to the 2 hours above and you get something like 2.5–3 hours between when you first turn on the oven and when you’re blissfully munching away.
How to set up your oven if you don’t have a steam injector or dutch oven
First thing you do when you wake up is turn on the oven. In lieu of a dutch oven, place a deep tray on the bottom rack (this will help create steam) and a flat baking tray on the top (this will help to trap the steam). On the rack just above the deep tray on the bottom will be a pizza stone. If you don’t have one, you could just grab a regular sheet pan, let it heat up in the oven, and use baking paper when you flip out the dough.
While the oven is heating up, gather your tools. You will need a lame (or a very sharp knife), some flour for dusting, a spray bottle with water inside, a peel if you have one, boiled water and an ice cube.
Slash, spray and flick
When the oven reaches the right temperature, carefully pour the boiled water into the deep tray on the bottom of your oven. Close the oven door and now take out the dough from the fridge and remove the linen and plastic wrap. Lightly dust the top of the dough with some flour and then tip it upside down onto the peel or a lined, hot baking tray. After you score the dough with the lame or sharp knife you’ve gotta move relatively quickly: spray your dough a couple of times with water (this helps to steam your bread), and if you’re using a peel, flick the dough onto your pizza stone, or simply whack in the lined baking tray and Bob’s your uncle. Place the ice cube somewhere in the oven (this should also help create steam)—I put it on the wire rack, above the deep baking tray—and set your timer to 25 minutes.
After 25 minutes, carefully remove the deep tray from the bottom of the oven and baking sheet from the top. The steaming process is done. Now we’re aiming for a nice colour on the crust. The amount of time depends on how dark you like your bread, but I usually keep it in for another 5-10 minutes. Once it’s as dark as you like it (darker = more flavour), turn off the oven and let the bread sit in there for 5 minutes, letting the residual heat of the oven dry out the surface for a better crust. Then take it out and let it cool on a wire rack, which could take from anywhere between 1 and 2 hours.
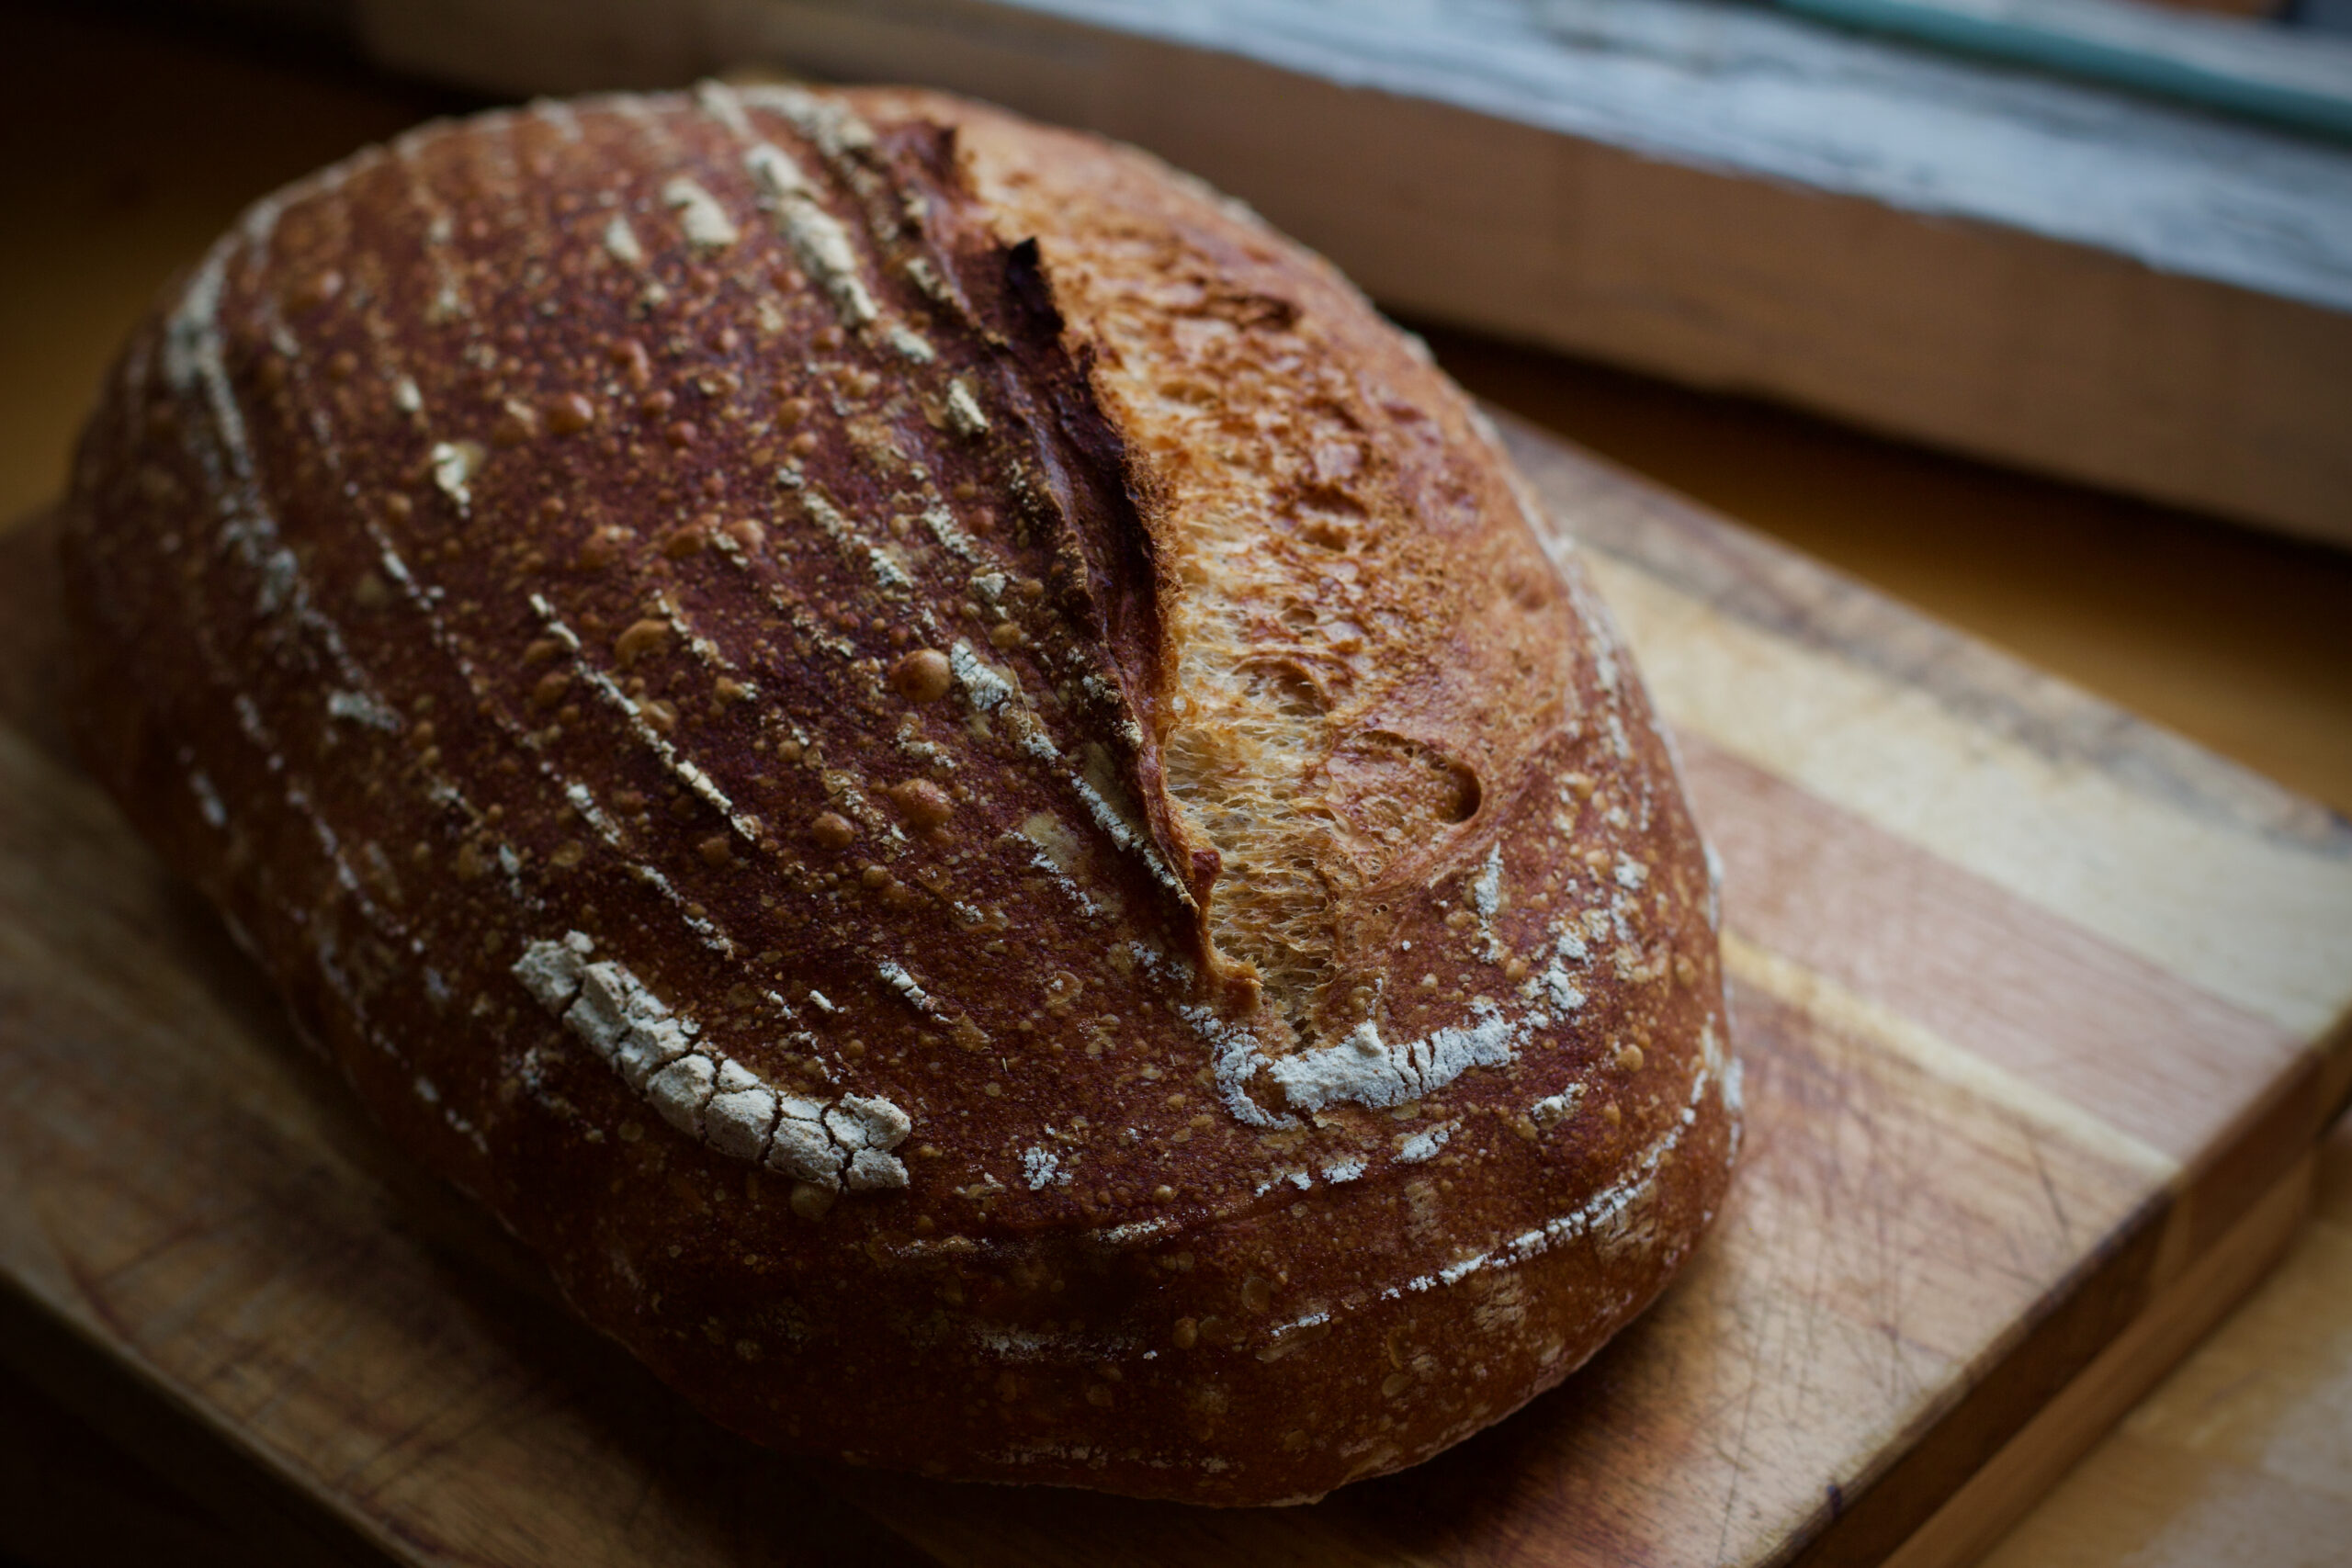
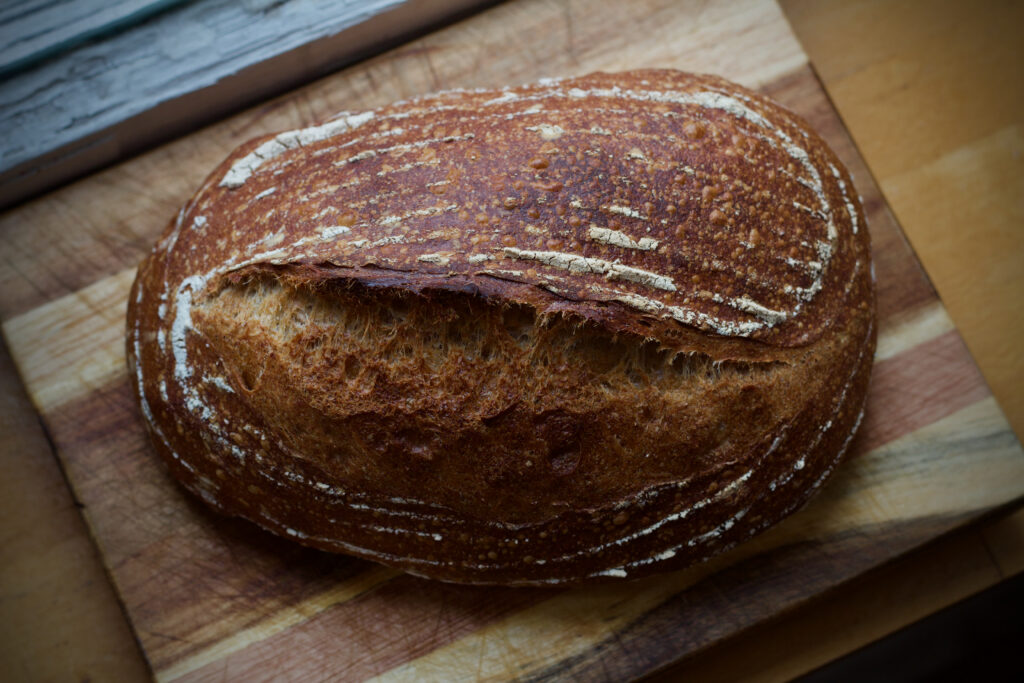
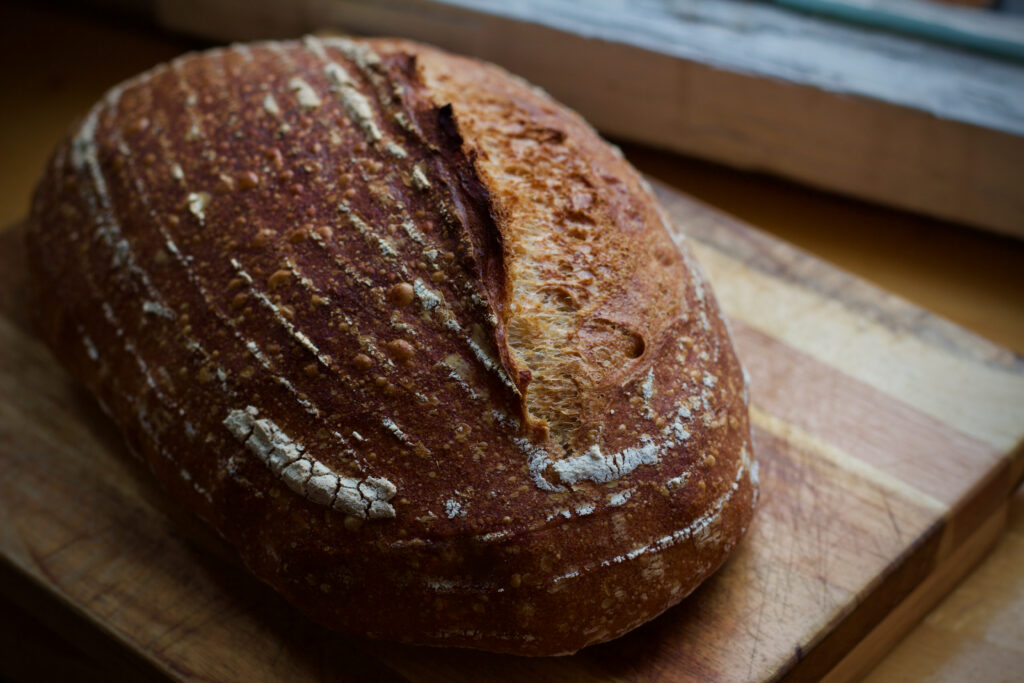
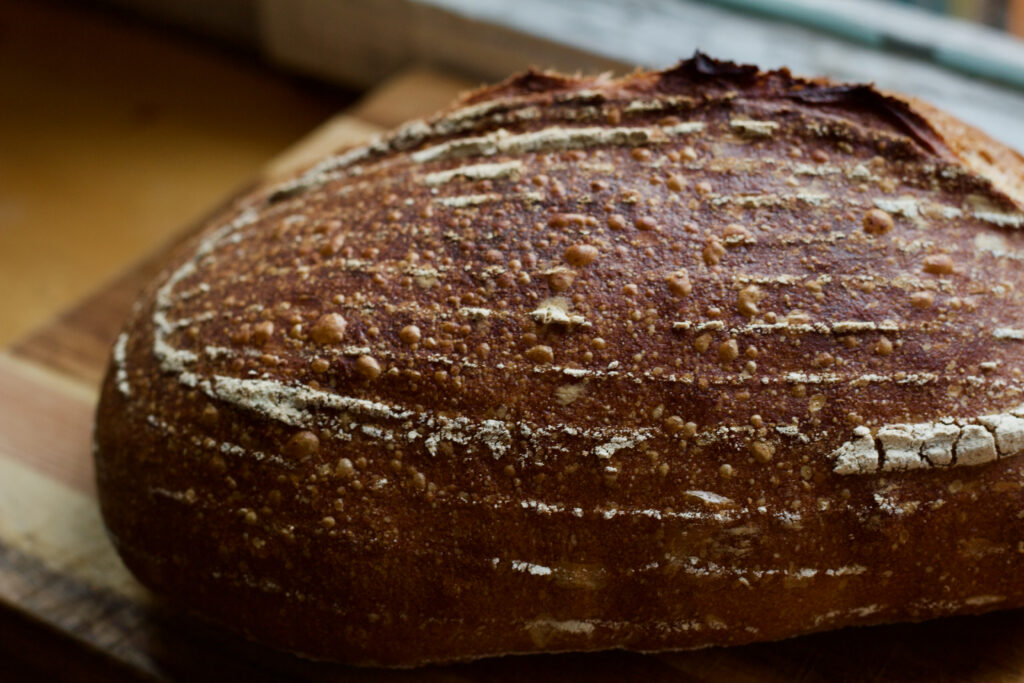
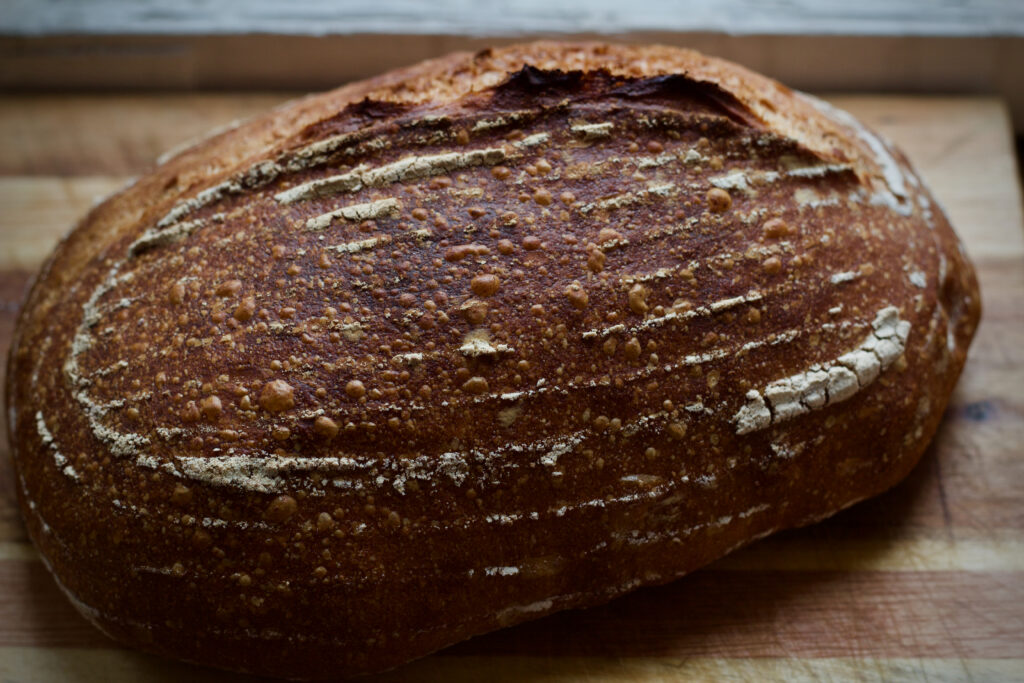
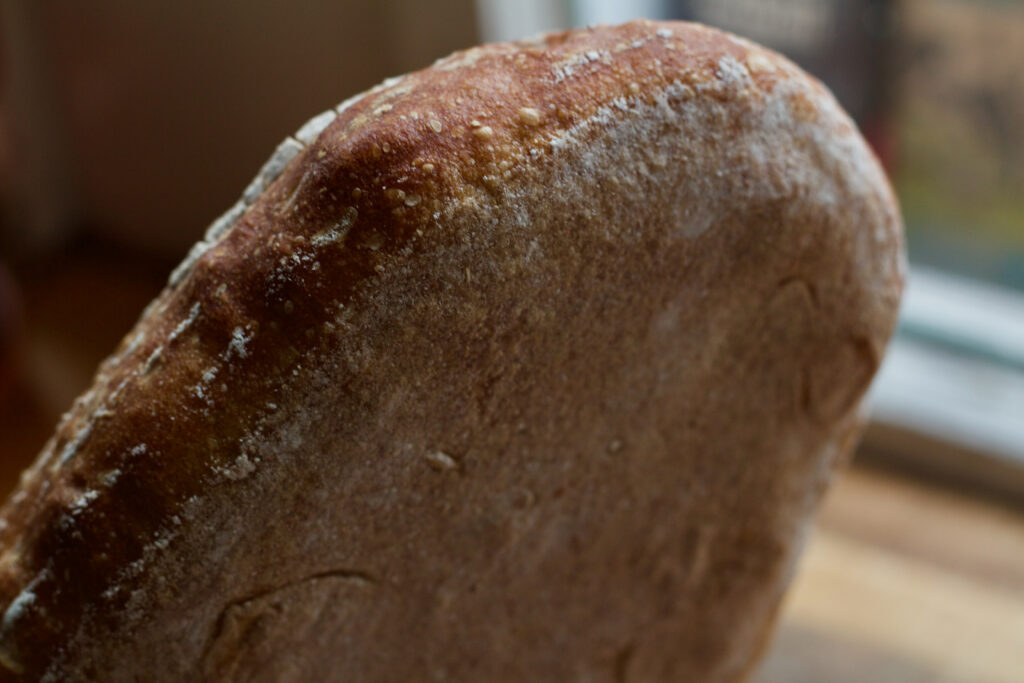
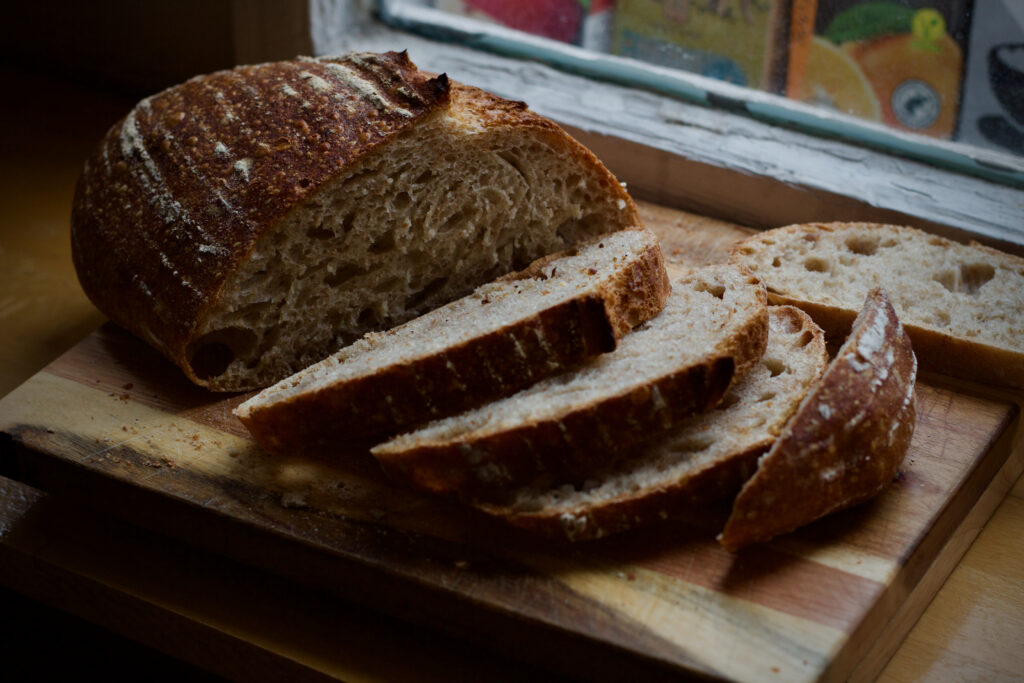
At the end you should get something like this:
Doughver and out,
Jen
